“I am mainly interested in the Lightroom develop module and everything in the Right Hand menu. I don’t really know how to use the Tone curve, or how to manipulate color nor do I know when / how to use the items under Detail.”
This is a portion of Lightroom we walk photographers through a lot, and we’ve covered most of the entire right hand menu in the Develop panel in some form or another. Remember, we said most of all the things in the Develop panel. If there is something we haven’t covered you’re just dying to know drop us a line! To make this easy for you, just open up the Develop module and follow along with us from top to bottom.
Before we get started, let us turn the amps up to 11 … ahhh, that’s better:
Histogram
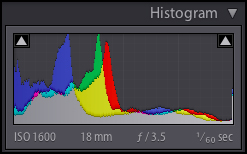
Hot off the presses:
Localized Adjustments
![]()
Localized adjustments were all the rage with Lightroom 2.0. We really like the Adjustment Brush and discussed its wonders in this post:
If you want to explore all things Localized Correction, Adobe has you covered!
Basic
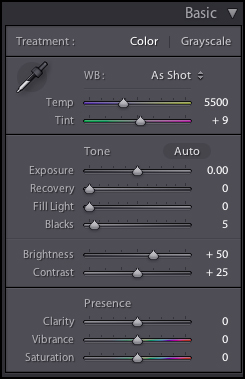
There are a few sliders worth mastering in the Basic panel, but it’s not overly complex to understand. Exposure and Brightness are the topics we get asked about most often.
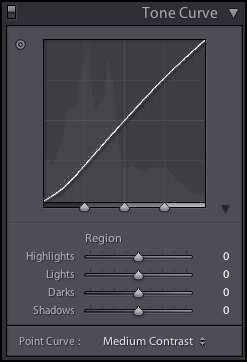
Tone Curve
HSL / Color / Grayscale
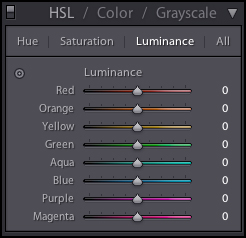
Next to the Tone Curve, this is by far the coolest and most feature rich panel in the Develop module.
- Luminance – Hue and Saturation’s Step Brother
- Monochrome Mojo – Mixing in Grayscale (a tasty 2 part series with 27 free presets available for download)
Split Toning
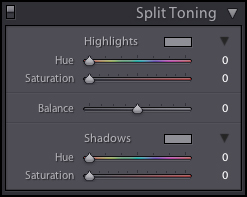
We tackled Split Toning from start to finish in this post, and created 10 free presets to help you get jiggy with it.
There are 2 sets in the download, Monochrome Toning (MT) and Cross Processing (XP). All of these presets can be used on either color or monochrome images.
Detail
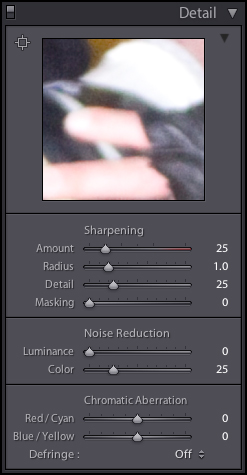
Sharpening and Noise Reduction finally got the Rock Star treatment in Lighroom 2.0. We’ve covered both topic in fine detail so if you’re ready to take the plunge we’ve got you covered.
- Sharpening in Lighroom (a sweet 2 part series covering all the important details)
- Turn down the volume – Noise Reduction in Lightroom
Vignettes
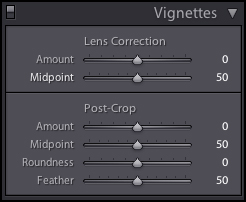
Vignettes used to be called Lens Corrections. Whatever Adobe calls it, we love this tool! Included below is a detailed workflow on how we have used Vignettes to create artistic effects and another workflow leveraging the Post-Crop Vignette feature.
Camera Calibration
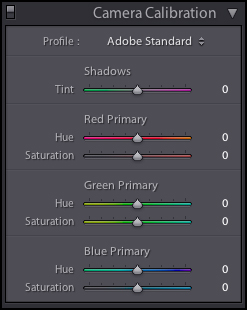
“When I shoot images with my camera and import into Lightroom the colors all are weird.”
“I switched back to Aperture from Lightroom because when I imported the same images into Lightroom the colors were all screwed up.”
This is a taste of the whining I often hear from Aperture users trash talking Lightroom or Ex-Aperture users moving to or from Lightroom. There’s any easy fix for this, and as a photographer looking to calibrate Lightroom and your camera this is something you should understand anyway. Also, Adobe has been pretty good about trying to deliver camera-specific profiles out-of-the-box with Lightroom which makes this even easier.
- Playing with Color – Camera Profiles (a 3 part series loaded with great information)
If we were to consider what the heart and soul of Lightroom is we’d be hard pressed to say anything but the Develop module, and in particular this panel.
We’ve received a lot of emails as a result of our X-Equals Survival Kit post because of a sweet offer we made to all of you:
” … if you have questions regarding any of the items below, or just want some advice on how to get started with a particular component (setup, strategy, ideas, etc.) just shoot us an email and we will help you out. The best part of this offer … it won’t cost you anything! Let’s connect!”
In all honesty you can email us about anything you want to discuss and we’ll help you out.


