What’s Old is New
This something I read about wayyyyyyy back when Lightroom Beta 2.0 came out – the ability to maintain your vignette edges even when cropping images. Back in pre-2.0 versions of Lightroom the basic vignette adjustment panel would only apply its effect to the 4 corners of the original image (pre-crop).
This forced me to export to Photoshop to constrain the effect back to the outer edges of my new cropping – something I wanted to avoid – especially for such a trivial task.
Here’s an example of an image pre-crop:

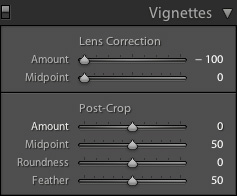
First let’s apply a basic Lens Correction – and let’s go extreme on adjustments for the sake of example:

… and our results:

As expected, all four corners are adjusted – nice and clean.
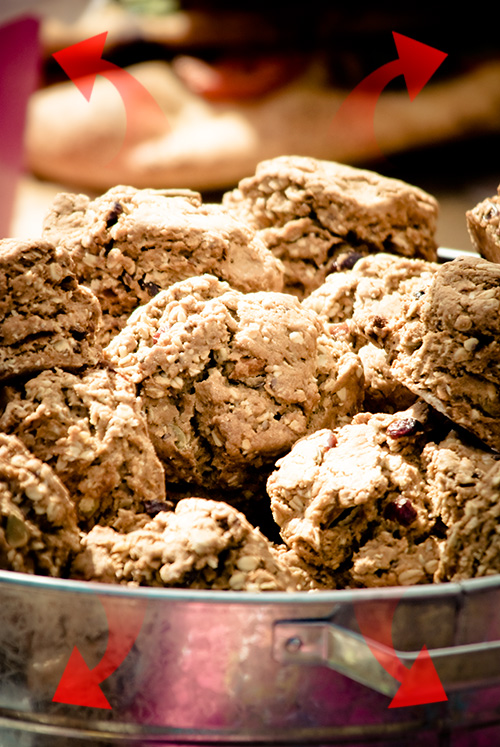
Once we crop the image, in this case to a 1×1 ratio:

… some dubious results ensue:

We lose our vignetting in the upper left and right hand corners. This used to cost me a round-trip ticket to Photoshop in the past.
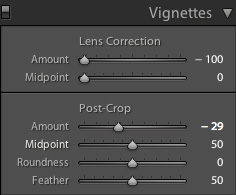
Now, with Lightroom, we have a nice little adjustment tool aptly named: Post-Crop. It’s absolutely beautiful!

As we can see a small adjustment to the Amount slider brings our image back to life:

That’s it for our workflow on this project but keep in mind the addition of this tool is such a marked change from previous functionality it’s worth every ounce of understanding. As you know, we are NUTS for vignetting it’s like Adobe built this tool just for us – yet the rest of you can enjoy it too!
Next week I’ll show you how to put your vignettes on steroids utilizing the new graduated filter, exposure, and saturation controls.
Until then … Happy Vignetting!


