A little while ago I did a panoramic stitch of Rotterdam covered in beautiful hazy autumn light. Since I received a lot of positive responses and even a few question on how I did it, I’ll be explaining the process of making a panoramic photo using this photo as an example:
{click on the image to enlarge}
The basics
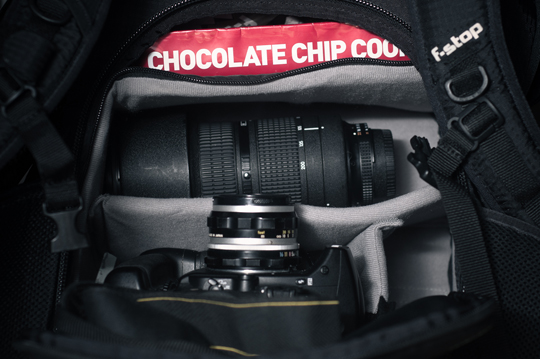
So … what will you be putting in your camera pack?
Any digital camera will work, but I prefer my images – and panoramas – as sharp as possible. So if you have a DSLR, use that. If not, you can go for something smaller like a digital point-and-shoot.
While not a requirement, (I didn’t use one for this photo), a tripod will simplify the process. Just make sure you mount your camera as level as possible.
You can use any lens you want – keeping in mind you’ll have to rectify the distortion in wide-angle lenses. I prefer prime lenses because of their sharpness, and would always choose a 50mm or something a bit more tele. This particular image was shot with a 80-200mm lens at 80mm f/8.
Let’s do this!
The Location
Well, you probably already had a location in mind, but don’t forget the harder the battle, the sweeter the victory. Go for the harder to reach places with those unique views.
If you have the opportunity, pick a time of day that intensifies the scenery. Sunsets are made for these kind of photos although nighttime is an excellent time as well.
Setting Up
Most of you will probably shoot in Automatic mode or Aperture Priority mode, and that is not the way to go in panoramic photography. Since you’re shooting a wider view you are bound to have different exposures for every photo you take. Get an exposure that works and shoot in Manual mode. In this photo I wanted the boat to be exposed properly and didn’t mind over-exposing the right side of the image.
It actually helps accentuating the boat. Also be sure to turn off your Automatic White Balance and shoot at a constant Temperature.
I prefer to shoot my photos in RAW for the sake of post-production, but if you’re not really into that, you can go for JPG too.
OK, let’s actually shoot something now.
Start on the farthest side of your image and work your way to the other side. Be sure to include an overlap in each photo you take. The more recognizable features that overlap, the better the stitching will go.

Again, make sure parts of the images are overlapping. The tall buildings in our sample image are a good reference point for the stitching software.
The Stitching
There are tons of programs that will allow you to create panoramic photos, some are good and some aren’t.
If this is really something you want to cherish, go for a program that has proved itself throughout the years, like PTGui or it’s Pro equivalent. If you’re still experimenting you could try Hugin as an alternative (although I find it to be a bit harder to use). Both of the programs include excellent tutorials, so I won’t be explaining that to you.
Be sure to export your file to high-resolution format like TIFF and PSD. Both formats are compatible with Lightroom.
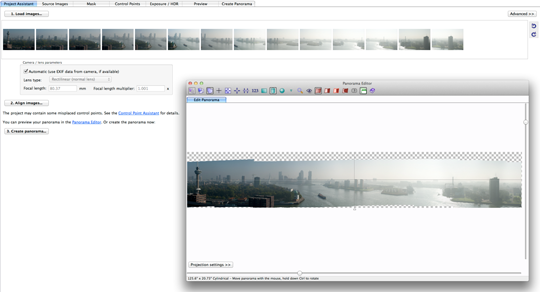
As you can see above, if you take the panorama without a tripod you’ll loose a bit of the information from the top and bottom of the image.
The Editing
Although there are a lot of other similar programs that will do the job for you, I prefer Lightroom for quick color adjustments.
For this particular image, I wanted to make this look more than a painting than a actual photo. I always start out with the exposure adjustment. In this photo I wanted the boat to be the center of attention so I fine-tuned the exposure for that one using the slider in the upper right.
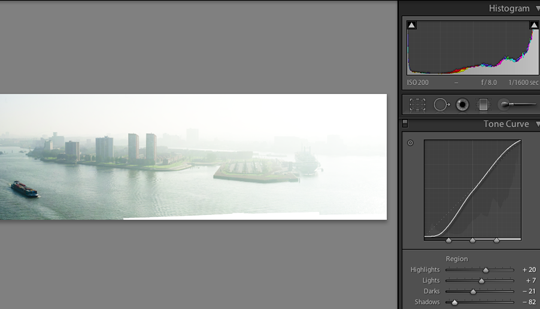
Then I wanted it to be more contrasty and adjusted the saturation for the containers of the boat.
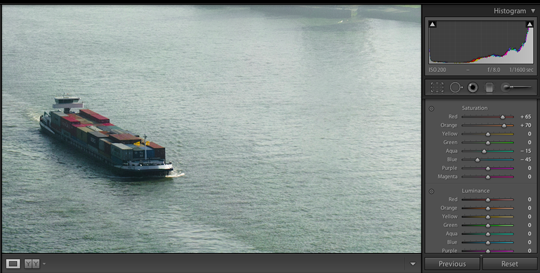
That’s nice. But the rest of the image is kinda weird looking now.
Let’s do some selective coloring by opening up the HSL panel.
I picked a yellowish highlight color to give it more of the autumn feel and made the shadows a bit bluer since that just seemed like the best combination. Feel free to experiment with things a bit and you’ll get the hang of it. Otherwise, you could always choose the easy way and apply a couple of the XEQUALS Presets.
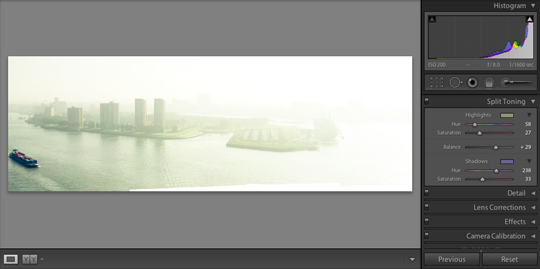
Now, let’s work the sky a bit. Yes, it’s a bit blown so, use a yellowish gradient and pull down the exposure a bit.
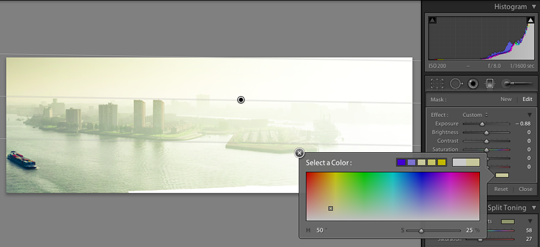
OK, we’re almost there now.
Use the vignette tool to over expose the sides of the image a bit, hence leading you to the center of the image.
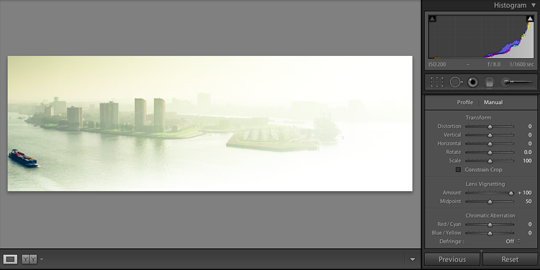
The last step is to brush the water a bit to lighten it up (overexpose) by just a tad in the corners.
Of course every image is different, and I just wanted to share a bit of insight in my basic workflow and thoughts for working these kind of images. Also, I did use a fair amount of Photoshop in this particular image, but I left those steps out for the sake of sense and simplicity.


