Not one to be left with just 1 time consuming project, I’m also working on another blog to be added to the X-Equals + Media network focused around skateboarding. As part of this new endeavor, I have been working with Lightroom and Photoshop to create a very nice panorama.
Even though some of you may loathe the idea of incorporating more Photoshop into your workflow the nice thing is that when creating panorama’s, Adobe does make working between the 2 rather easy.
Before we start, I will mention there are many plugins and software packages that will stitch panorama’s for you. With Lightroom and Photoshop sitting on your computer, why not leverage what you already have? I’ll leave the answer to that question up to you. Nonetheless, with Lightroom and Photoshop you can whip up some compelling panorama’s with very little work.
Tips for shooting your source images
Keep these key tips in mind when shooting for panorama’s:
1. Use a tripod
You can shoot without a tripod, and I have done things this way before, but the tripod really helps get a clean stitching of all the images once you start processing them.
2. Keep your framing points consistent
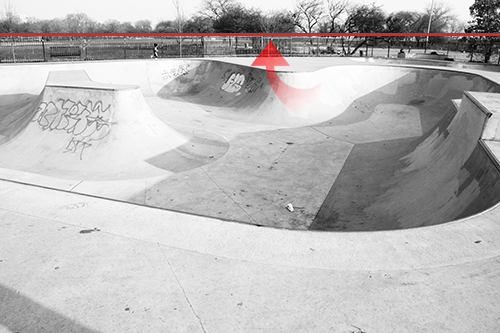
I am shooting a lot of horizontal panorama’s , so the basic rule for me has been to keep a consistent horizon on each shot that is common between each shot. Again, a tripod makes all the difference here.
3. Keep your overlaps consistent
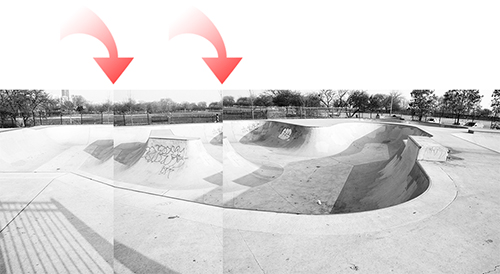
I let about 20-30% of each image overlap the next. This works pretty well for horizontal shots. This gives the Merge to Panorama tool in Photoshop enough to work with in my opinion. In this example we see 3 shots placed side-by-side so you can see where I used the 20-30% overlap rule.
4. Maintain consistent camera settings throughout
I prefer to use manual mode on my camera for all settings (white balance, shutter, aperture)
If you fail to do this, you risk images that vary quite a bit with regard to exposure, white balance and focus. Some of this can be remedied in Lightroom, and we will look at how I tweak exposure via the Auto Sync command. Outside of some small tweaks to exposure, shooting manual mode with consistent settings avoids additional work in Lightroom.
5. Shoot at least 4 complete passes of your entire series
The last thing I want is to walk away from the shoot, get home, import my images, and find something askew. I shoot a complete series of images from right to left (twice) and from left to right (twice).
It’s also important that when preparing to import into Lightroom you have a consistent filename and numbering system.
Once your images are imported into Lightroom and you have your picks, it’s time to rock.
Organization
Here you can see some of the 30 images that make up my series (shot left to right in this example):
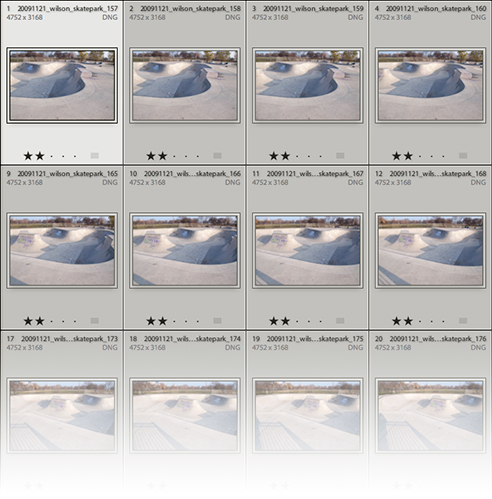
Organization is key, and for the sake of sanity, I suggest you manage your picks with collections which I have been doing more often with my projects:

Adding some flavor
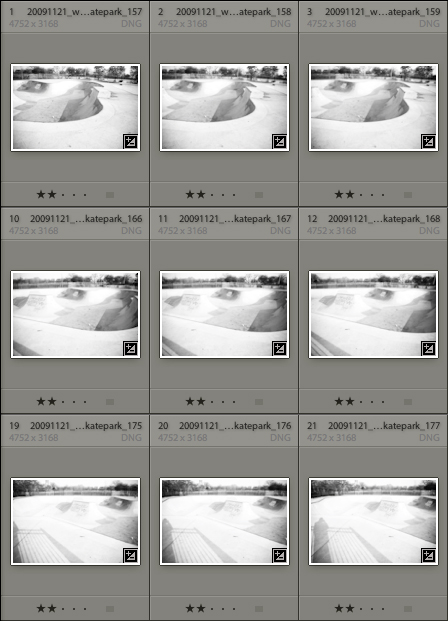
I’m working in black and white for this project, so we’ll drop all of these to black and white using the Painter tool.
While in the Library module in Grid view, select the Painter tool:
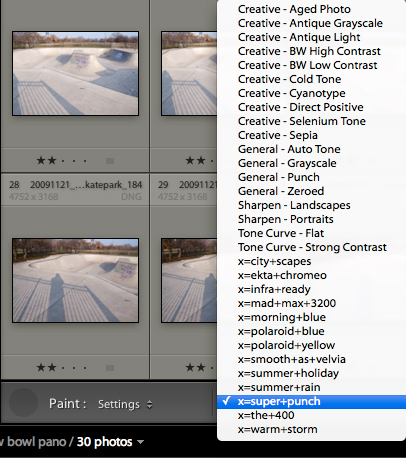
I’m going to use our X-Equals Super Punch Preset to drop these to black and white and the Painter makes applying this preset super easy. They key here is that once selecting the Painter, set it’s mode to Settings which then allows you to paint the selected preset on the images in our grid view.
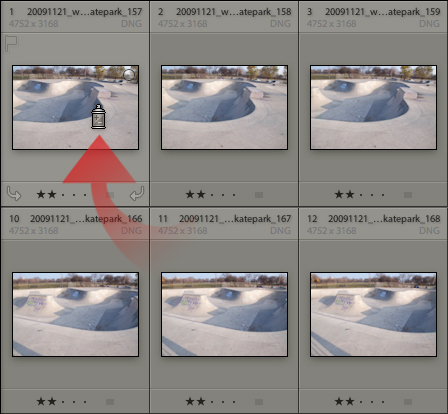
All I do is click and hold and drag the Painter across all your images and the preset gets sprayed on them. There are numerous ways to apply a preset to a selection of images, but this technique looks cool and sometimes we all need a little cool in our workflow.
Ahh … they look delicious:
Time for a test run
Next I’ll do a test run by exporting some low resolution JPEG’s to see how the Panorama comes to life. This allows me to quickly see the output of the Photomerge command without the long wait associated with a full resolution render from Lightroom and Photoshop.
These are keyboard commands every Lightroom user should know by now and I perform them in this order:
- Select all – {Ctrl or Cmd + a}
- Export Images – {Ctrl or Cmd + e}
Next I’ll configure my export parameters:
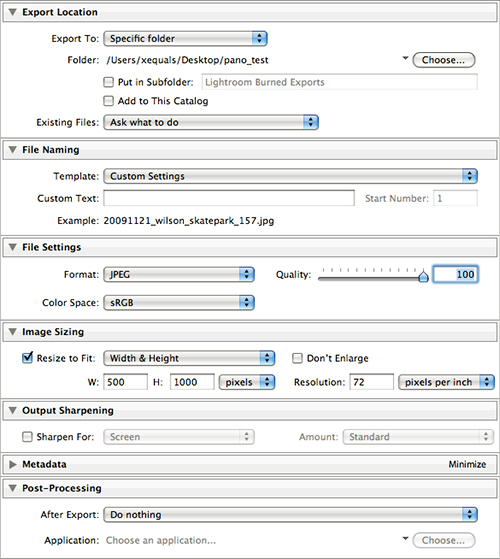
- Export To: the desktop is fine since I won’t be saving these images anyway
- File Settings: let Lightroom output with original filenames
- Image Sizing: resize to fit 500 x 1000 pixels or thereabouts at 72PPI
This will generate a nice set of images that will allow me to get a feel for what the final rendered panorama will look like.
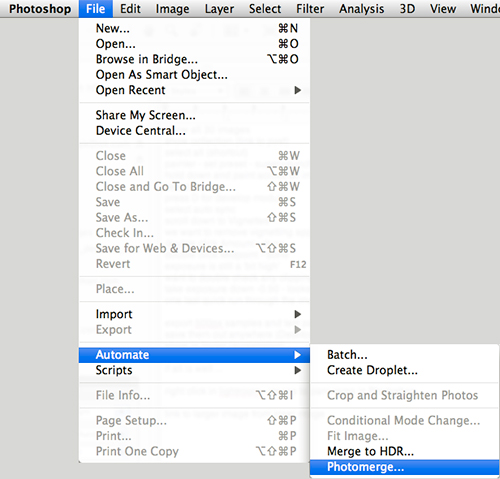
Next, I’ll crack open Photoshop and select File >> Automate >> Photomerge …
I’ll be presented with the Photomerge dialog:
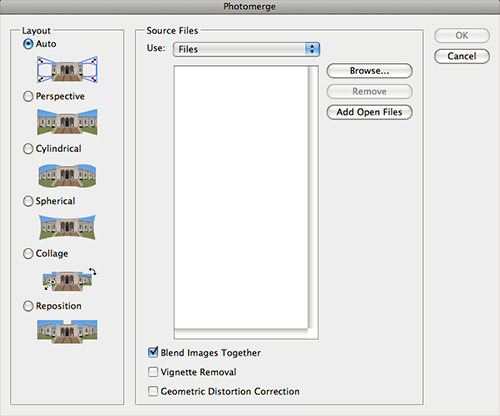
Select Browse … and select all the JPEG’s I exported previously.
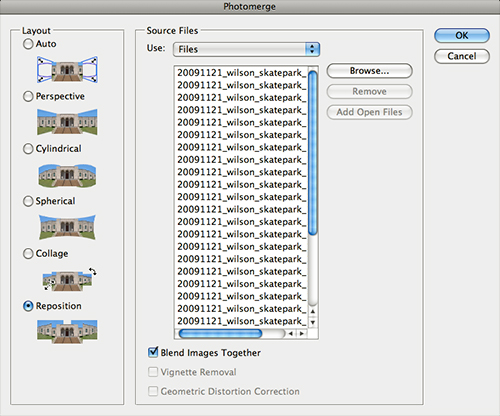
With the JPEG’s loaded I can set which type of Layout I want. In this case I chose Reposition.
Select OK and Photoshop will work it’s magic. When it completes, I’ll be left with my first test panorama:

Game time
I like what I see so I’ll head right over to Lightroom to complete my final full resolution render.
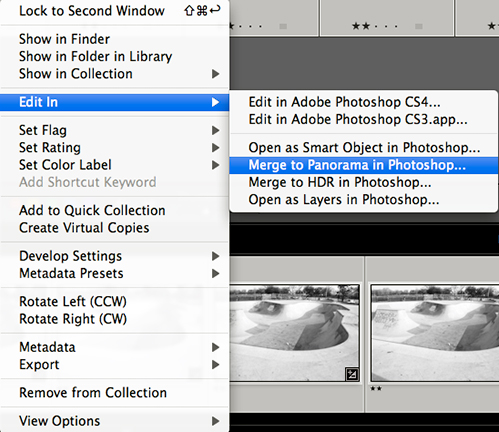
With all my images selected in Lightroom from our previous export all I need to do is simply right click in either the Grid of Filmstrip area(s) and select Edit In >> Merge to Panorama in Photoshop …
Time to pour some coffe, grab a beer, or whip up a snack because this process can take a while (depending on the size of your RAW images).
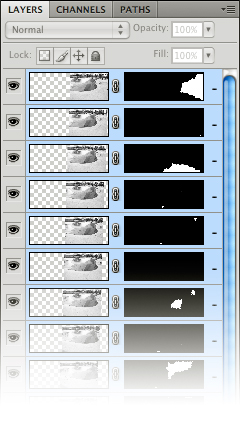
Once this process completes, I have a massive panorama having stietched together 30 15megapixel images all layered nice ane neat in Photoshop:
Hers is the final panorama (click here for a higher resolution version):
With my panorama rendered and loaded into Photoshop, I simply hit Save {Ctrl or Cmd + s} and Photoshop will save the file.
Just as simple, Lightroom will toss the new file right into my grid:
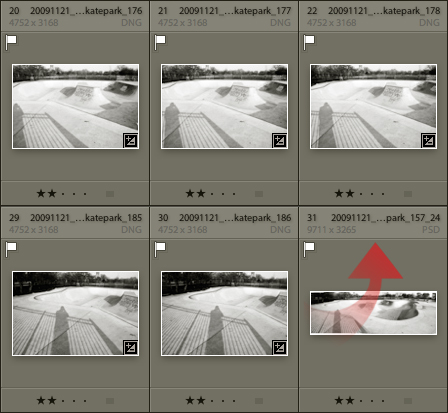
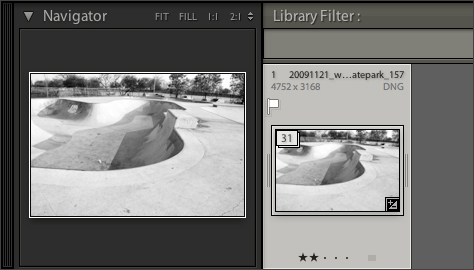
If I want to clean up things a bit in Lightroom I can also stack these babies together and call it a day. This is so darn easy to do.
- Select all – {Ctrl or Cmd + a}
- Group into Stack – {Ctrl or Cmd + g}
I’m really digging this workflow, and every time I create one panorama I get more ideas for another. This is exactly what photography is all about – having fun!


