Alright, so Part 1 of this series is fully digested, right? Well it is time to build on that procedure and really flex this workflows muscle. If you recall, I asked you to think about what presets you really like in Lightroom and to convert then to Adobe Camera Raw profiles using the past tutorial. Hopefully you did that, because we are going to use them.
If you haven’t gotten your presets ready, no worries. I have included at the end of this post a download containing all the LifeInDigitalFilm presets I utilize in making this tutorial. Obviously they are film emulation presets, but each one has a Lightroom and ACR preset ready to go. Figured it would help if you had the tools, you know.
The biggest and most interesting application of the Layered Smart Object workflow is the ability to composite from the same image with differing presets applied to each layer. I know this sounds strange, but when you play with the process, it will make sense and make a lot of corrections easier.
So first, let’s bring some pop to an image. We are going to take a single image and process it with three different presets for different parts of the image, enhancing its overall appearance. The idea here will be to have a heavily saturated background, mildly saturated foreground and a neutral, skin-tone friendly saturation on the subject.
So, starting in Lightroom, let us choose an image, create three virtual copies and apply presets to them. Here is my original, untouched Raw file.

I then applied my Fuji Velvia preset, for rich, saturated leaves.

Next came my Fuji Sensia 100 preset, to richen the vehicle and ground in the background.
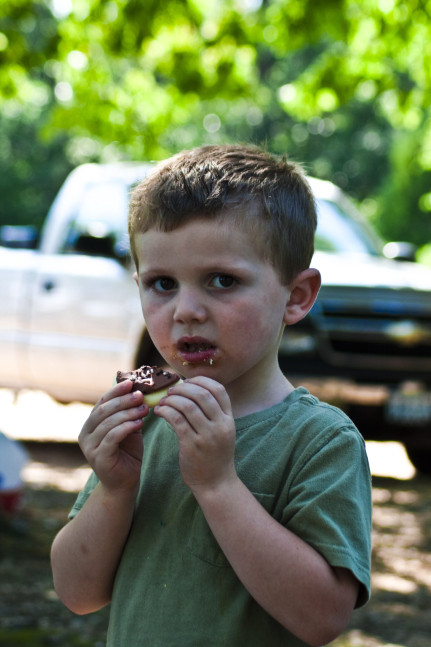
Finally, I applied the neutral toned Fuji 160S preset to create even skin tones.
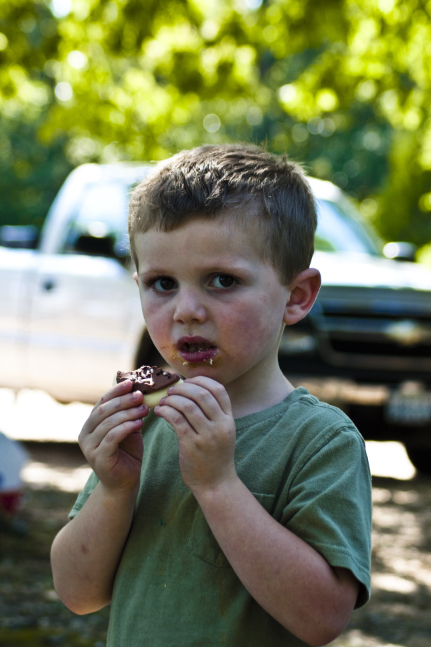
Applying these presets to each Virtual Copy creates 3 different interpretations of the same image. Now to leverage those 3 images to create 1 image that blends the desired qualities of each version.
So, using the techniques learned in part one, bring the Virtual Copies in Photoshop as Smart Objects and layer them up. Go ahead, I’ll wait.
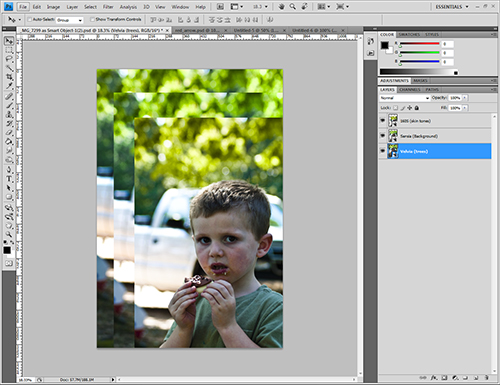
So now you have your Smart Objects ready to go in Photoshop. I layered mine in order so that the Fuji 160S image with the subject is on top, The Fuji Sensia 100 image with the primary background behind it and the Fuji Velvia image with the tree line as the emphasis. I also included a flat black layer at the bottom to serve as a proofing tool while masking. It helps show where the layer mask is applied easily.
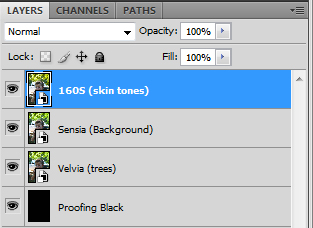
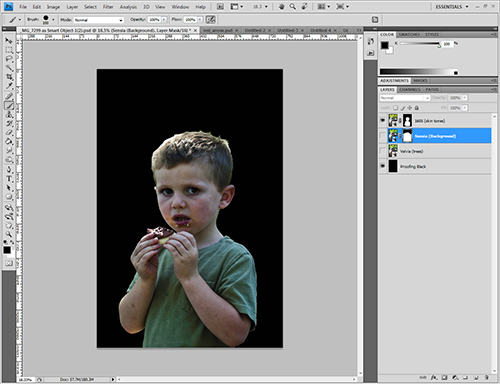
Now the masking begins. I am going to start by masking out just the subject on the first layer.
Then mask out the tree line from the second layer.
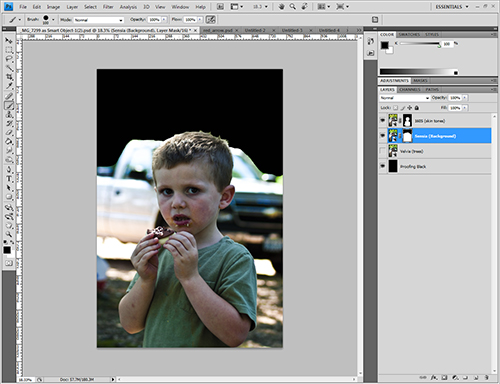
With those two masks complete, the three iterations are blended, combining the unique look each preset provides to specific parts of the image. Although when comparing the original layers to one another there shows to be a large difference between them in tone, combined it looks natural.
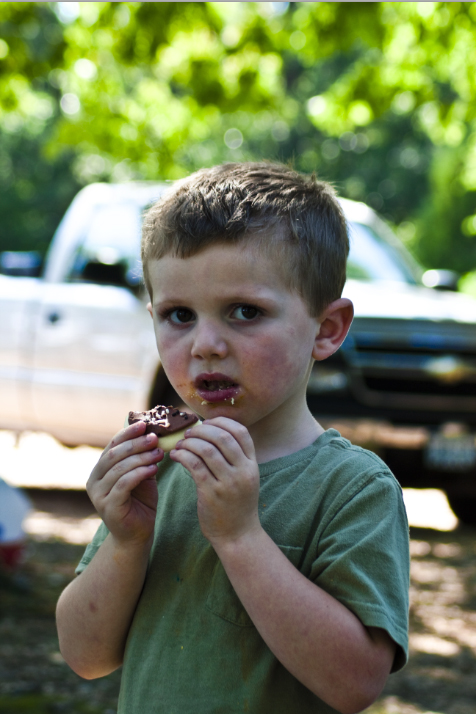
Now that I look at my sample image, I feel that the tree line is too bright. I need to darken it. However it is only the uppermost part of the tree line that offends my sensibilities, so I don’t want to jump over to ACR and drop the exposure of the Velvia layer. I need to use a Graduated Filter.
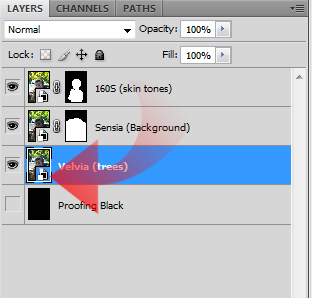
So I will double click on the Smart Object icon in the Layers pallet as we did in the last article. This launches us into Adobe Camera Raw.
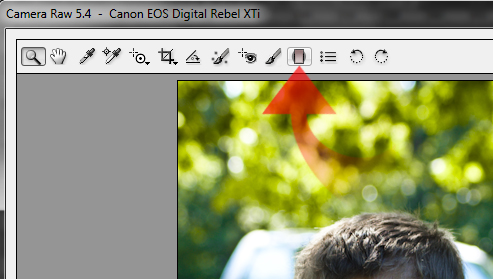
Now in the ACR window, I will click on the Graduated Filter icon {G}.
Next, I apply the graduated filter across the top half of the image, then I drop the Exposure to -0.60 and bump the Saturation a touch more to bring some more pop to the leaves.
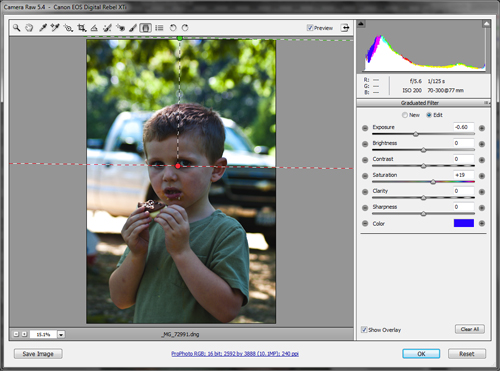
I am not concerned with applying the filter over the subject, as he is already masked out of this layer, replaced with the subject from the 160S subject layer.
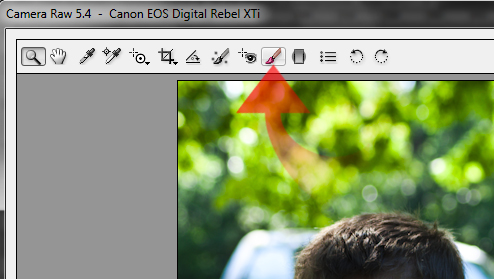
In the same vein, I feel that the truck from the second, Sensia, layer is blown out a bit too much. Again, I don’t want to adjust the entire layer in ACR. This time I will use the Adjustment Brush to brush over the vehicle. Click on the Adjustment Brush icon {K}.
I will set the Exposure to -0.70 and proceed to paint over the truck, applying the adjustment.
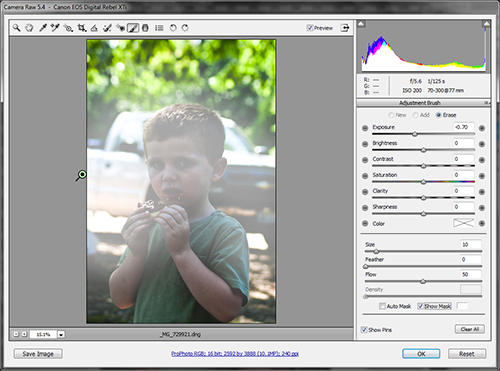
This time, I am a little more cognizant of the area of the image affected, as I can darken the ground if not careful. With the Adjustment Brush however, this is not too difficult to avoid.
Now that the local adjustments are complete, the image feels complete.
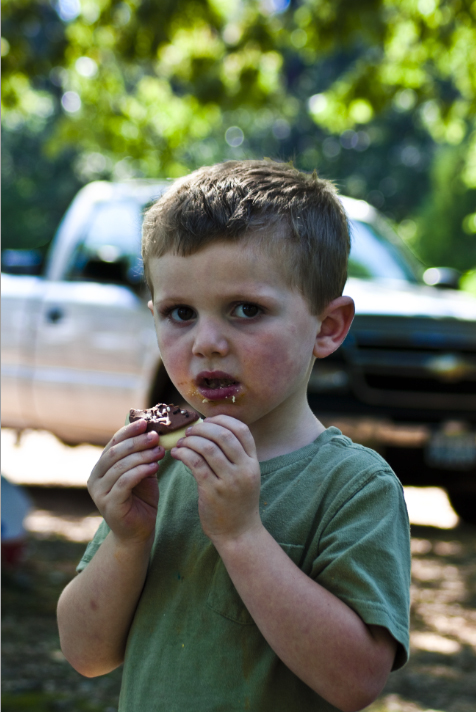
Although the image seems good to me, let’s not call it quits yet. The skin tones look good on the subject, however I feel there could be a nicer skin tone applied. Adjusting only skin tone can be a hassle in Photoshop, but utilizing Smart Objects, Layer Masking and Presets; we can change it in a few clicks.
So I will now double click on the Smart Object icon again, this time on the subject layer. As said, the Fuji 160S look was nice, but I would like to warm the skin tone. So once ACR opens, I proceed to click on the Presets button.
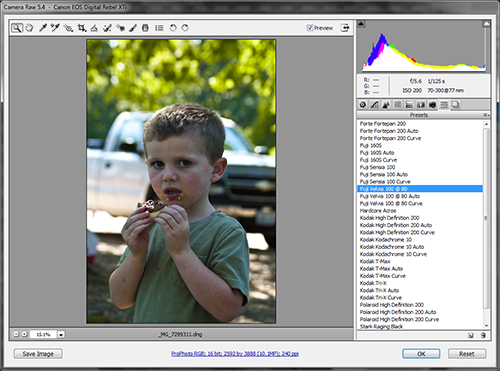
From this menu I will select my Fuji Velvia 100 @ 80 preset. This will darken the skin tones a touch and bring some more saturation into the skin, but not much. I went ahead and tweaked the Exposure a touch and strengthened the Tone Curve, just to bring about some more pop.
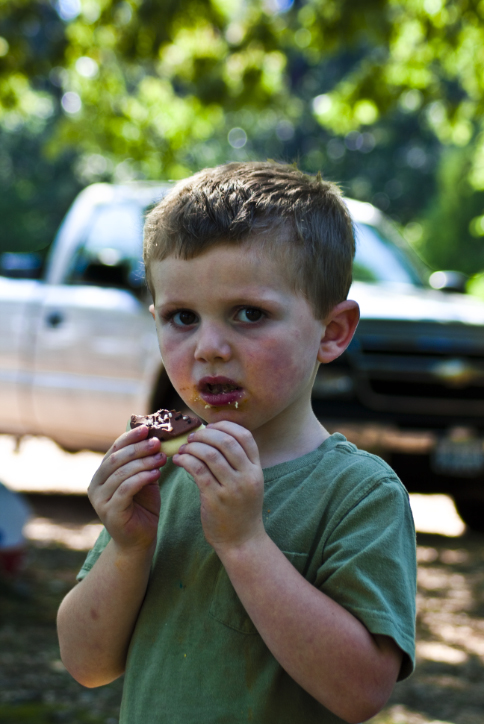
Once back into the main image, it is nice to see how much progress was made so quickly. Now to take it to another level. Utilizing the same preset methodology, we can easily take this blended image from a saturated, full color image, easily to a selective color composition.
For this, I am going to select the far background, Velvia, layer. Then I will open it up into ACR. From here I select the Presets button again and I am going to select the Kodak Tri-X preset.
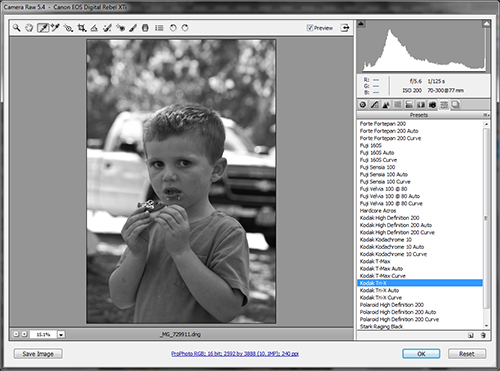
This applies a nice monochrome conversion to the image. When applied, this will only affect the tree line in the background.
Next, I need to take care of the background, Sensia, layer. Again, I hop over to ACR, select the Presets button and this time I apply the Kodak T-Max preset.
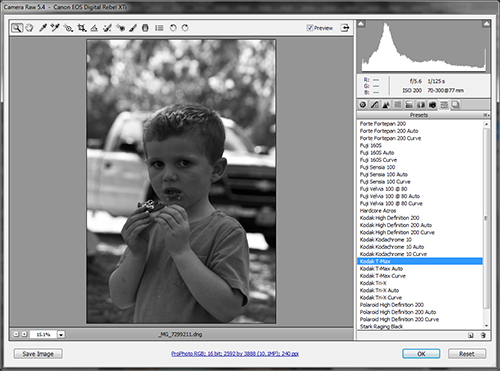
This presents a different monochrome conversion, but blends nicely with the Tri-X layer.
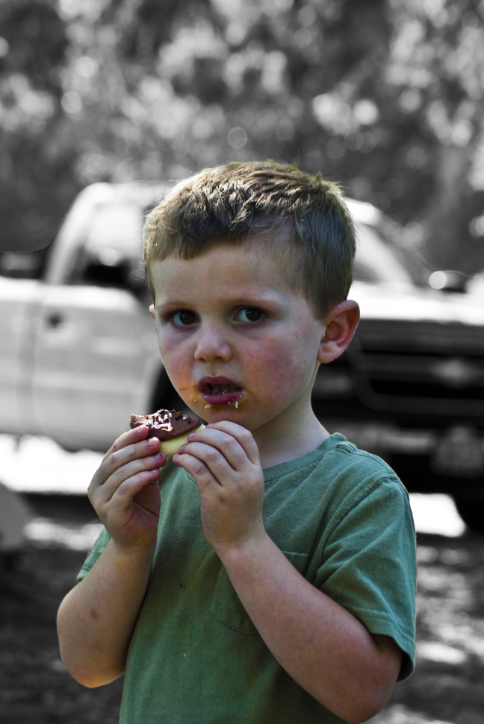
There, in about one minute I converted a full color image to a selective color piece.
That’s all for today folks, easy enough lesson to apply.
Have fun with all the masking and image tweaking now made available to you. Make quick and easy image alterations with presets and local adjustments in ACR. There is nothing like having a little piece of Lightroom right in Photoshop.
In the series finale, we will expose some more advance techniques made available to you in Photoshop when using a Smart Object, Layered workflow. We’ll look at Smart Filters and some other crazy trickery that is commonplace for Photoshop, but made amazing with Smart Objects.
Next, let’s move on to Part 3.


