It has been said that the best camera you have is the one you have with you. There is some truth to that statement, but I have never felt it 100%. Until recently, that is. Just over a month ago I finally took the plunge and picked up an iPhone 4. I spent quite a while shopping phone features, and was hung between getting an Android phone and an iPhone.
I decided that as a photographer, I should let the quality of the camera built into the phone make the decision for me. Needless to say, I got the iPhone.
The Android phone I was considering had a higher resolution camera, 8 megapixels versus the iPhone’s 5. But when comparing real world shots, in varying conditions, the iPhone simply produced better images, and my mind was made up. The iPhone 4 produces wonderfully sharp images, with a punchy saturation and little noise when properly lit. For my needs, it is the perfect replacement to the cheap point and shoots I have been carrying around for years.
5 megapixels is enough for good prints, the lack of optical zoom is no biggie for me as I shoot with prime lenses on both my digital and film SLR kits. My iPhone is a pocket camera that lets me make calls and send messages.
Getting the iPhone also reignited my love for photography. I had been getting burned out. My personal life has been chaos, and my last few weddings I shot were not artistically fulfilling and the overall experiences were not that great. My Canon DSLR’s had been gathering dust for a few months, and my trusty Minolta X-700 sat in my trucks most days, with the roll of Kodak Gold 200 sitting on frame 4 for months.
Once I got the iPhone, I was drawn to playing around with the camera and the apps that took advantage of it.
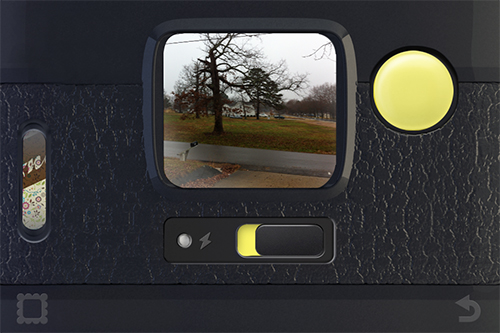
I got into Hipstamatic pretty hardcore. I love the retro feeling I got from the app itself and the images it created. The screen becomes a camera back, with only a small square in which to compose images.
When you shoot a picture, you have to wait for it to process, there is no instant gratification. I found that I truly liked that feature. Hipstamatic made my iPhone into something akin to a modern day Polaroid 600.
The downside, Hipstamatic photos are rather highly processed, leaving little room for further manipulation at the computer.
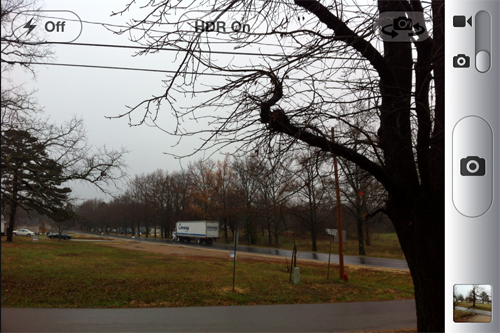
After spending time with apps like Hipstamatic, Shake It, and Instagram, I quickly found myself taking most of my shots with the default camera app. The images are not overly processed, much like taking a jpg from a digital point and shoot.
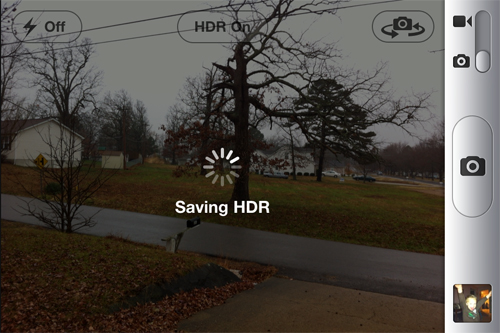
Plus, the built in HDR feature allows better image quality from the shots right off the bat; which is good, as there is no way to manually meter.
Using these default images, it was time to see what magic I could work with Lightroom and Photoshop. By simply applying the knowledge I had accrued from working in Lightroom with normal 8-bit jpegs, I have been able to get quality images, and large prints, from the rather simplistic, fixed lens iPhone camera.
When working on iPhone images in Lightroom, the working mantra is “Less is More”. 8-bit Jpegs cannot be manipulated as thoroughly as the RAW files we are all accustomed to working with, adjustments must be made lightly and judiciously, as you can rapidly crap up a great shot.
So, to help explain, I am going to walk through the editing of a single image I took with my iPhone. Hopefully, this will help you glean some tricks that will help you make the most of your iPhone images.
So, in the Develop Module I have selected an image that is fairly well exposed. I find myself working on HDR shots more often than not, as they generally have a better exposure, due to blending of exposures in camera. This shot I chose was a normal exposure, no HDR and not manipulation by another app.
The first issue with jpegs is blown highlights and shadow clipping. So my first step is always to turn on the clipping warnings and then try to eliminate as much of the clipping as possible.
The red areas are locations of highlight clipping and the blue areas are clipped shadows. Step one is to use the Basic tools to reduce the appearance of these warnings. To fix up this image, I needed to drop Blacks to 0 and increase Recovery to 36, which eliminated most of the warning patches.
Those two adjustments rapidly reduced the amount of clipping in the image, leaving only trace areas of clipping. This will work, so now I turn off the clipping warnings and resume regular editing.
Next I want to punch the image up a bit detail wise, so I am going to increase Clarity from 0 to 45 and back off global Contrast from 0 to -10.
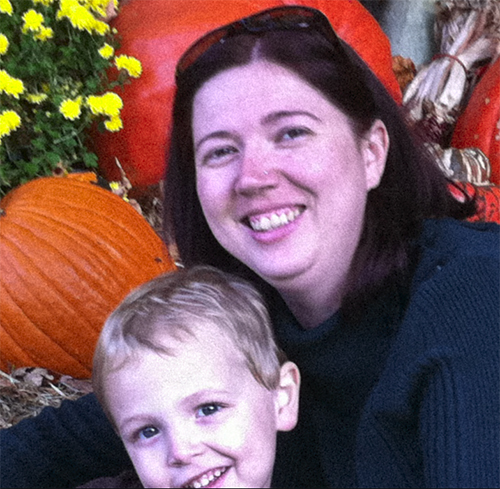
Now, I am getting happier with the appearance of the photo. The detail is popping a bit more, without using Sharpening, as you can easily over sharp a rendered jpeg. The change in contrast allowed for more visible detail in the sweater, whilst lowering color saturation without having to manipulate Saturation or the HSL. This led to the skin tones between the two individuals evening out, reducing the redness in the woman’s face.
To further reduce the redness in the face of the female subject, I chose to reduce the HSL Magenta Saturation from 0 to -36. Normally one would adjust Orange Saturation to correct for skin tones, but when dealing with blushes, sunburn, or in this case, windburn, Magenta Saturation will normally reduce the redness with the added benefit that it will alter the rest of the image in a very minimal way.
Now, I feel I have corrected the image as much as I should. My next concern is noise. The iPhone is not overly noisy, but it can still be distracting.
This particular image is not overly noisy, so I would hate to start using Noise Reduction on the image and have to do the NR and Sharpening dance. You can use Lightroom Noise Reduction with jpeg images, but it is nowhere as responsive as doing so with RAW files. However, I do find the noise in the image a little offsetting, as digital noise doesn’t feel natural to me as an old film shooter. So instead I am going to add Grain to give the image a more film-like feel.
Going for the more film like appearance I chose to add Grain by setting Amount to 30, Size to 60, and Roughness to 50. Counter-intuitively, this creates a more predominant and noticeable grain, but I prefer this appearance personally.
Aside from being an aesthetic choice on my part, favoring the appearance of grain, it also aids in reducing the apparentness of the blow highlight on the boy’s face. Now, if you do not appreciate the look of grain, or do not agree with me that the artificial grain is not an improvement over the natural noise produced by the iPhone, then by all means use Noise Reduction.
However, I feel that with the deep saturation the iPhone produces (much akin to Fuji Provia slide film) the grain adds to the film like qualities.
So hopefully this gives some insight into why I frequently use my iPhone as a camera and how I use Lightroom to perfect my images. I really do feel my iPhone is the digital equivalent to instant camera’s of yore, and I prefer to embrace the instant qualities of the phone and resist the urge to overly edit the images from my phone. I truly do feel that less is more when working with images from my iPhone.
