Any competent darkroom worker appreciates the need to make test prints to get the best from the negative; workers in Lightroom can take a leaf out of the same book by making use of digital test prints.
Digital Test Prints For The Win!
It’s easy to make a print from a digital image using Lightroom’s Print module. It’s not so easy to make a decent print.
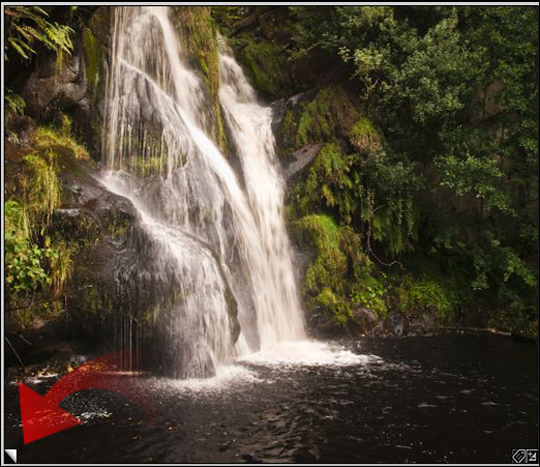
First, let’s look at our before image:

… and after:

More often than not, the print will be darker than the original. Using a correctly calibrated monitor and good print profiles can help a great deal, but for best results some extra adjustment may still be needed.
Using Lightroom’s Virtual Copies and Quick Develop, some digital test prints can be made quickly and easily.
- Make 3 virtual copies of the photo
- In the Library Module, click on the image you want to print.
- Choose Photo then Create Virtual Copy.
- Alternatively, use the keyboard shortcut control + ‘ (PC) or command + ‘ (Mac)
Virtual test print copies are indicated by a turned-page symbol:
Make 2 more virtual copies of the original image. The film strip will show the 4 identical images:

Adjust the brightness of each virtual copy
The next stage is to increase the brightness of the 3 virtual copies by a known, repeatable amount. This is done in the Library module’s Quick Develop panel (keyboard shortcut g). If necessary, click on the disclosure triangle to open the quick develop options:
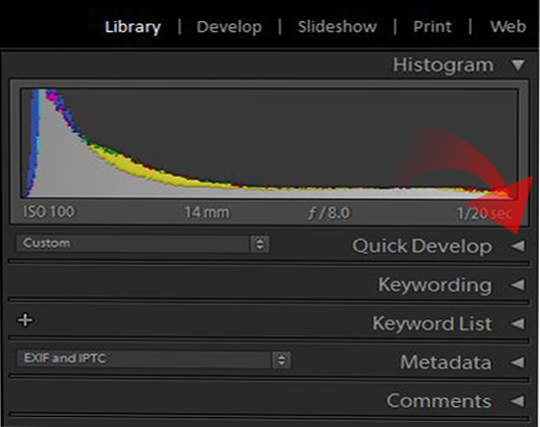
The right-facing arrows for the Brightness control increase the brightness of the image by a fixed amount. Each click on the single arrow increases the brightness by 5 units. Each click on the double arrow increases the brightness by 20 units.
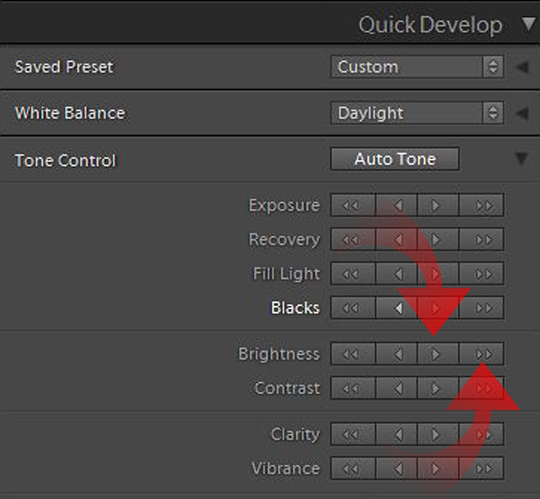
Try increasing the brightness of the first virtual copy by 10 units, the second by 20 units and the third by 30 units. This gives us 4 images of different brightness that we can print on a single sheet of paper in the Print Module.
Prepare and print the digital test prints
- Select all four versions of your photograph then go to the Print Module.
- In the left-hand pane, click on the Page Setup button and set your paper size and orientation.
- From the same pane, choose the 2 x 2 Cells in the Template Browser.
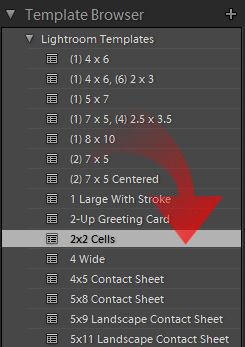
In this example, we chose to arrange the 4 images on an A4 sheet in landscape orientation:
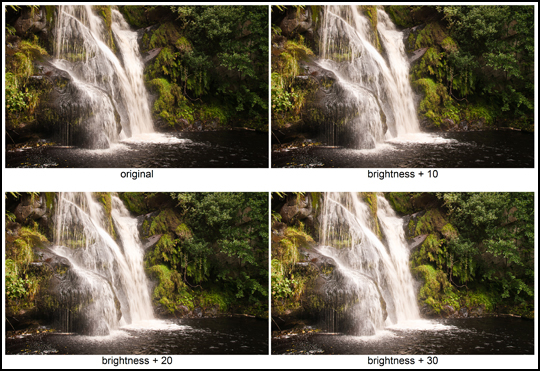
- Print the test sheet, allow it to dry and then choose the virtual copy that gives a print that most closely matches your original image on the screen.
- All that remains is to make your full-size print from your chosen virtual copy.
All being well, you should now have the print that you envisaged as you prepared the original image in Lightroom.
Enjoy!


