Stand out!
Don’t be like everybody else!
Personality!
Style!
We hear it all the time. We’re tired of hearing it.
Today we’re doing something about it.
Lately, we’ve talked about why you should watermark your images and how to do it proper-like. And, if you’ve been with us for any length of time, you know that we just have to take it a step further.
Maybe drive it out to Outrageousville and buy some land out there.
There are lots of fonts and styles that are available for you to craft your brand. But why be beholden to templates that everyone in the neighborhood has access to. ANYBODY can copy your watermark if they know the font and style.
We’ve changed that.
Here’s a way to sign and brand every image you create with something that is as unique to you as your signature.
Because … it is your signature.
We went ahead and removed the guesswork. Just, read, implement, and see the most personalized watermark come to life right in front of you in less than 10 minutes. If it takes you longer than that, drop us a line. We’ll help you out.
This whole process is about one thing … leaving your mark.
Capturing Your Signature
You have 2 great options to choose from for getting the perfect signature into your system:
Option 1 – A good old fashioned scan
Option 2 – Wacom Tablet (or a tablet in general) – but we like Wacom’s
Option 1 – Scanning Your Signature
It doesn’t take much to get your signature going – a Sharpie and a white sheet of paper will do.
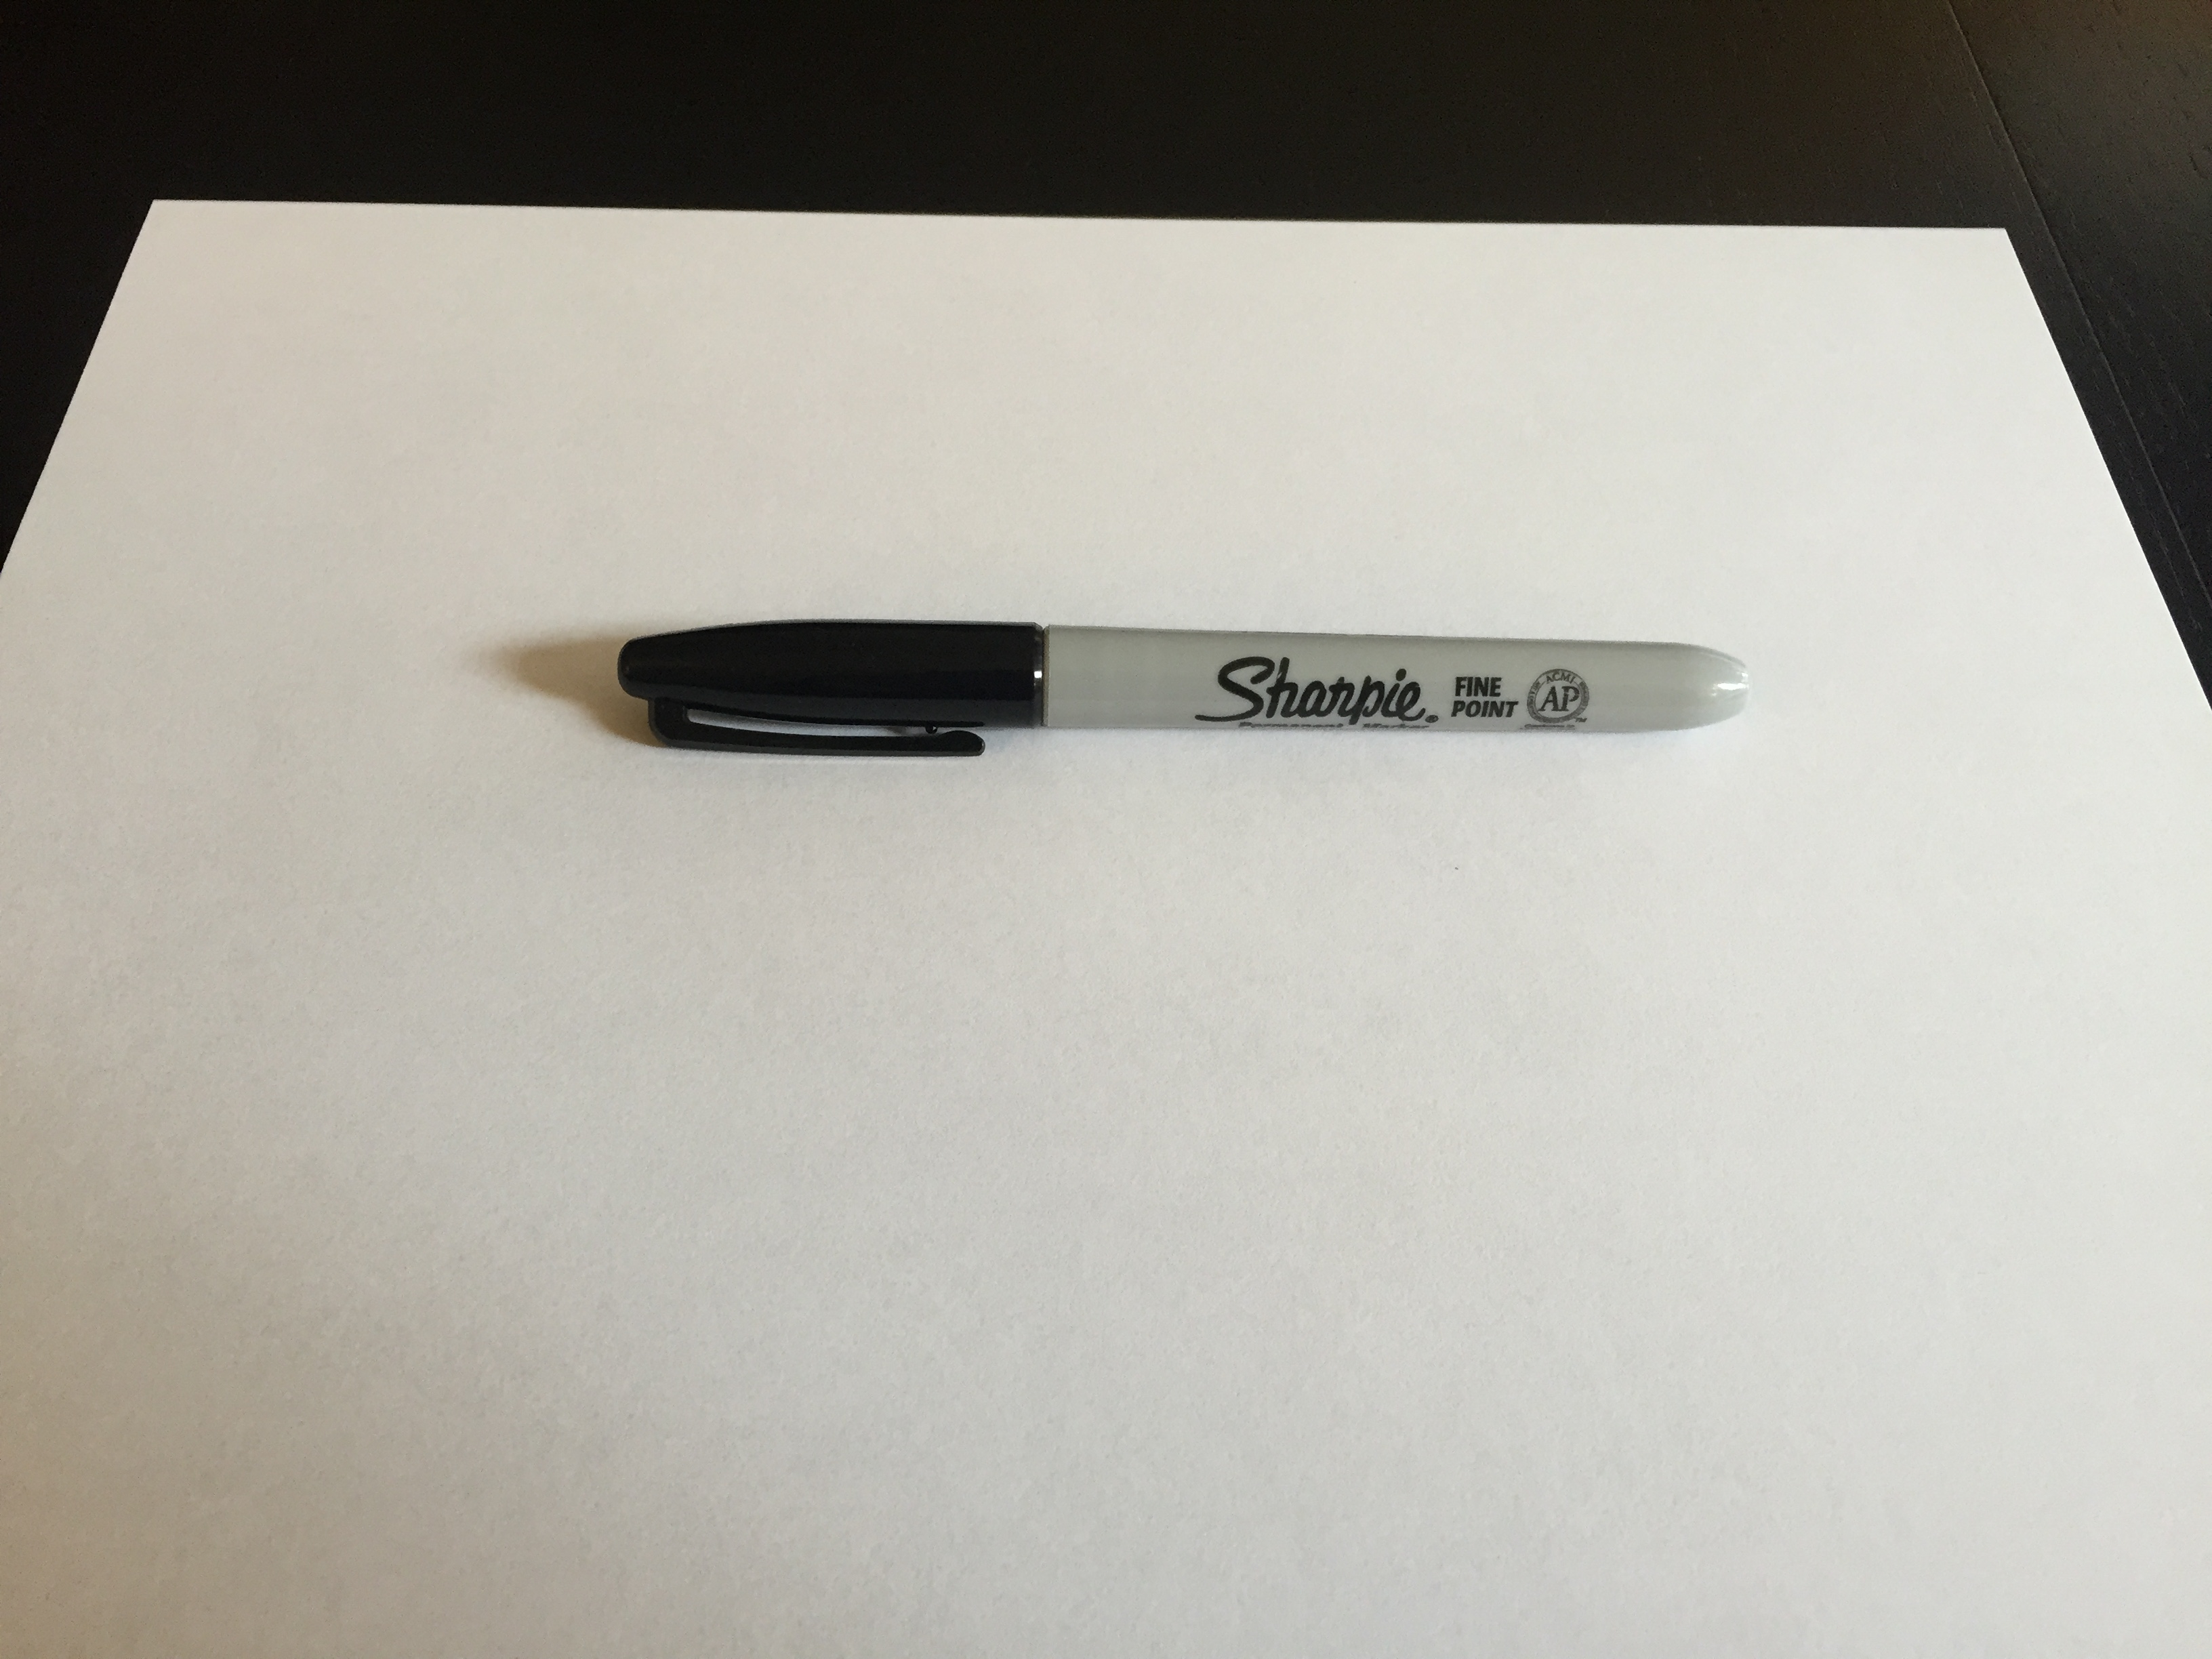
Now, bust out that sweet signature:
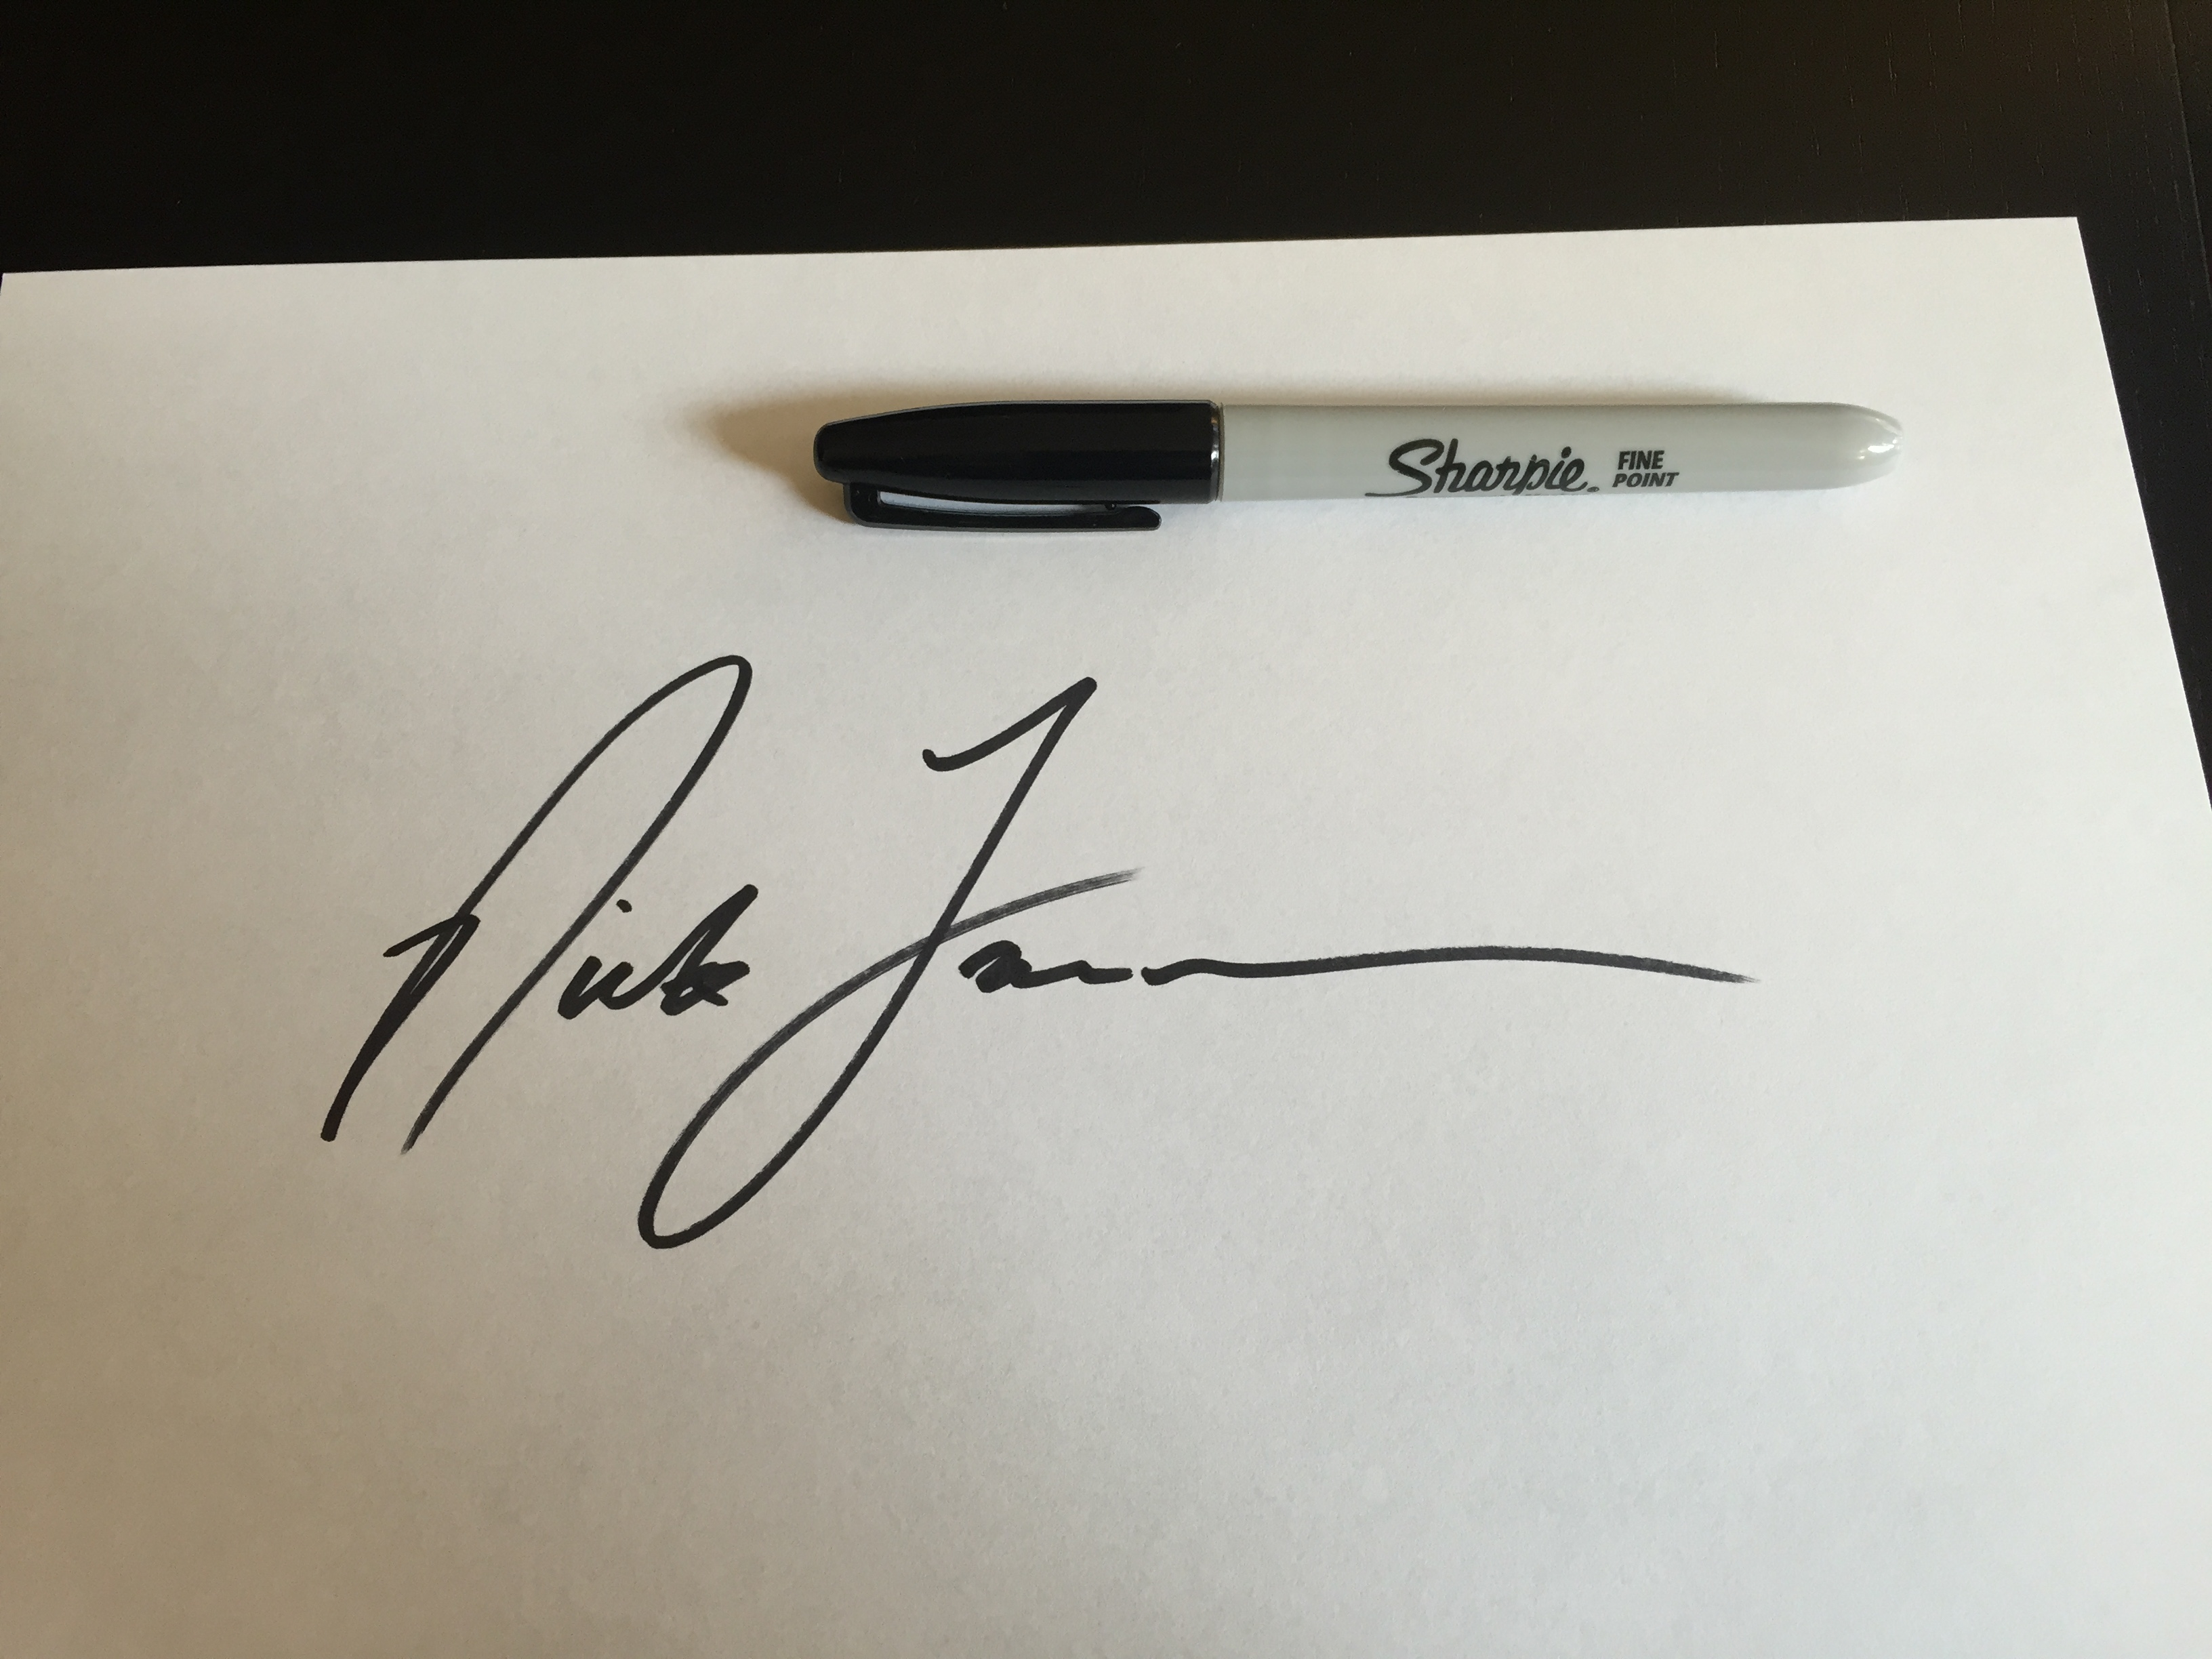
We suggest you write something sized around 4 by 2 inches. Once complete, scan to your system using whatever scanning software you prefer (which could even be your smartphone). In our case we used an HP Envy 100 Scanner set to scan 4 by 6 inches at 600DPI. Would you like to argue about DPI with us? Ok cool, go here.
It’s Photoshop Time!
With your scan completed, open the file in Photoshop:

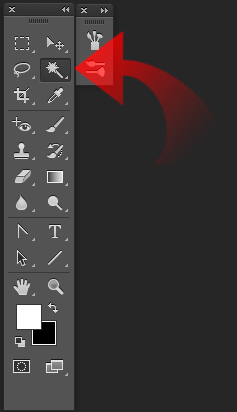
Now, with your image opened in Photoshop, select the Magic Wand Tool (keyboard command W)
And select the black area of your scanned image:
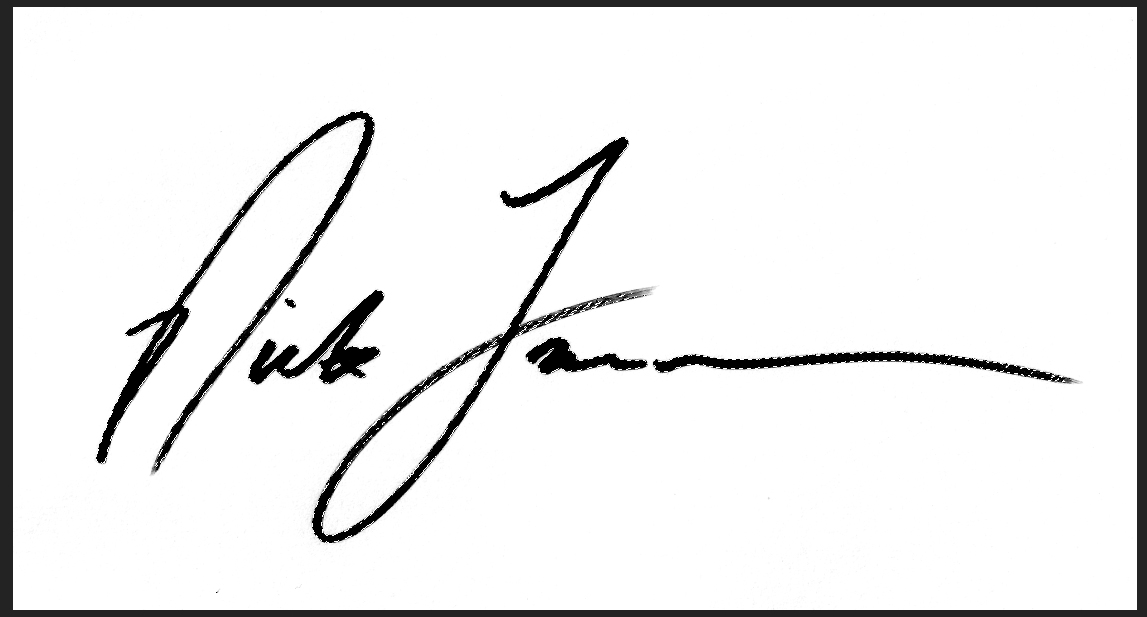
The little ‘marching ants’ will tell you what has been selected:
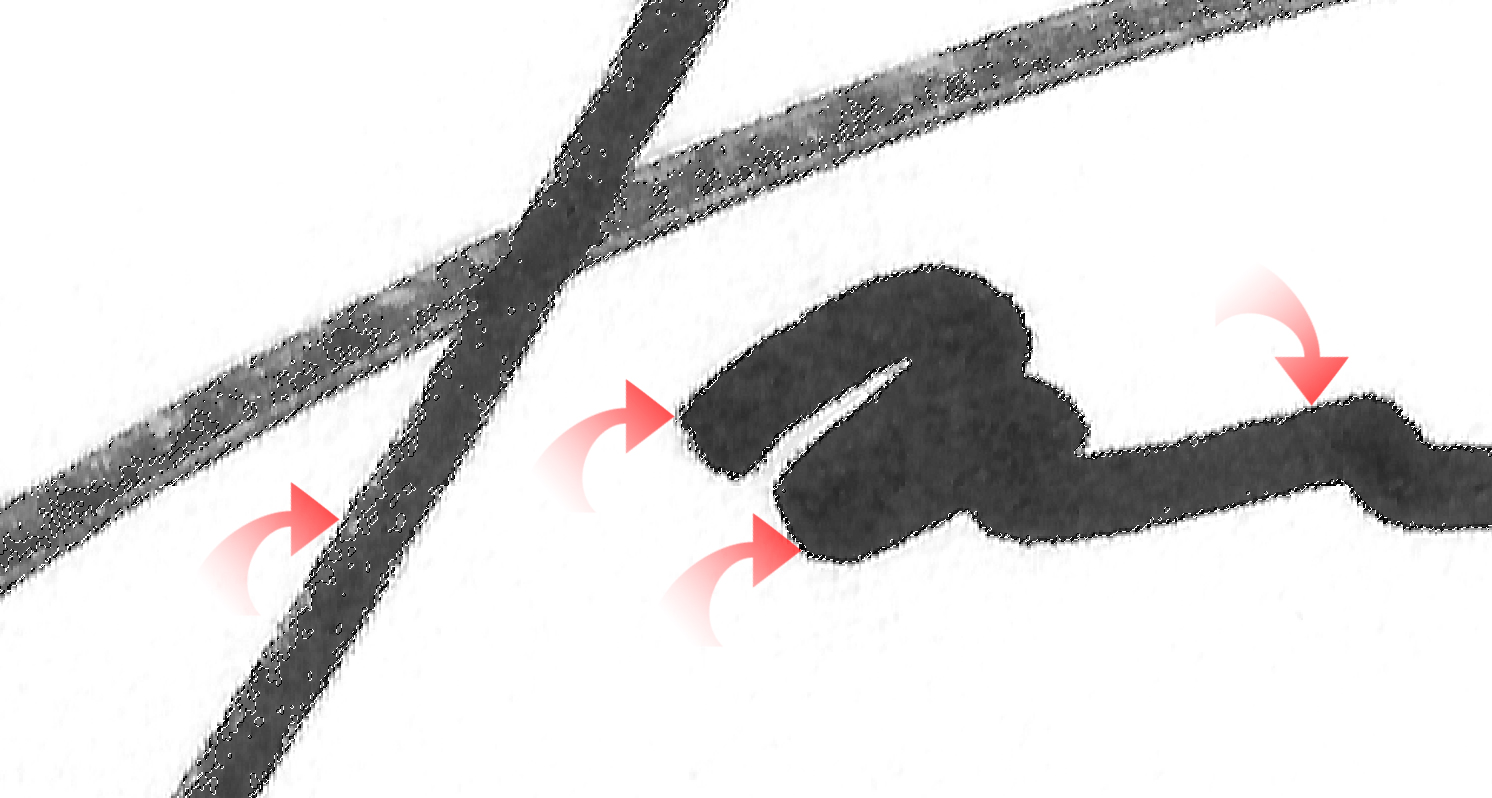
If the Magic Wand Tool doesn’t select all of the image you want, just hold down the Shift key and keep selecting until you have it all.
Once you are happy with your selection, go to Edit > Define Brush Preset
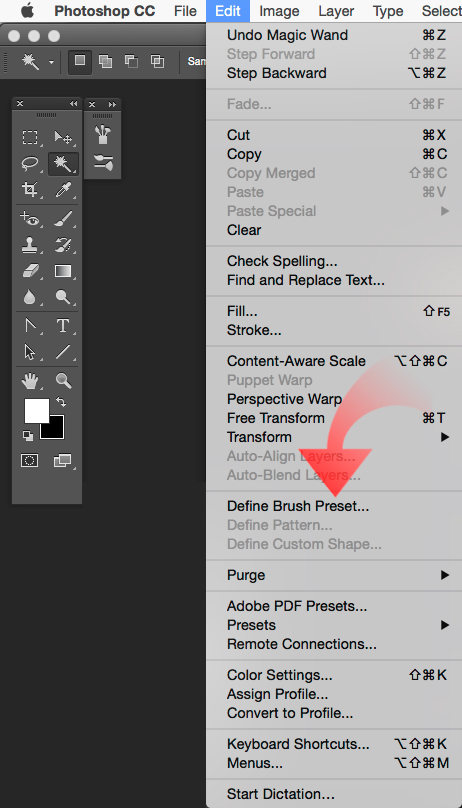
And you will be asked to name your Preset Brush:

Boom! you now have a Photoshop Brush Preset you can apply to any images using any color you want!
But, Photoshop doesn’t make it very clear that you just did this … so let’s fix that.
Simply open the Brush Tool (keyboard command B), and then go to Window > Preset Brushes to access your new creation:
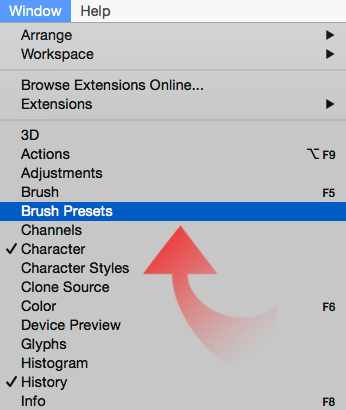
Now Apply That Thing!
Let’s start with a sample image:

Now Select your new Preset Brush:
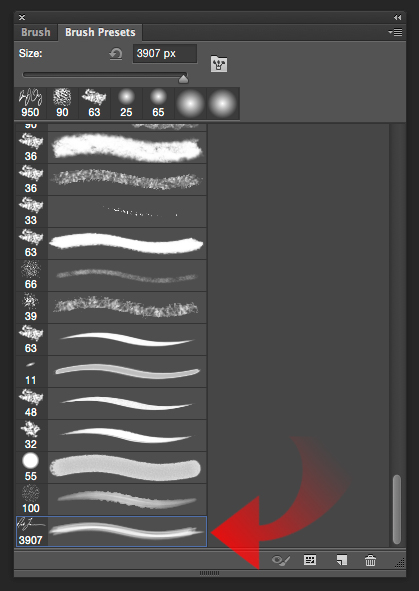
And let’s tee that up to apply to our image:

Oh snap, that is looking tasty! Tasty, but too big. Like that 96 oz. porterhouse you thought was a good idea.
Here’s the fix for that, the right and left bracket keys [ or ] will adjust the size of the brush. The left bracket key makes it smaller, and the right bracket key makes it larger. Just use these bracket keys to adjust your signature size as needed.
Once you have things sized to your liking … click. boom. done.

And there you have it ladies and gentlemen, a true digital signature, complete with your own unique personality and style.
Option 2 – Wacom Tablet
Oh wait, there’s more! The tablet route can also be a fun way to create your signature.
… your brand should achieve the same impact as your work.
There are a ton of ways to use a tablet to capture your signature, and you’ll need to find out what works best for you if you go this route. For now though, we’ll go with an old standard: the Wacom Tablet.
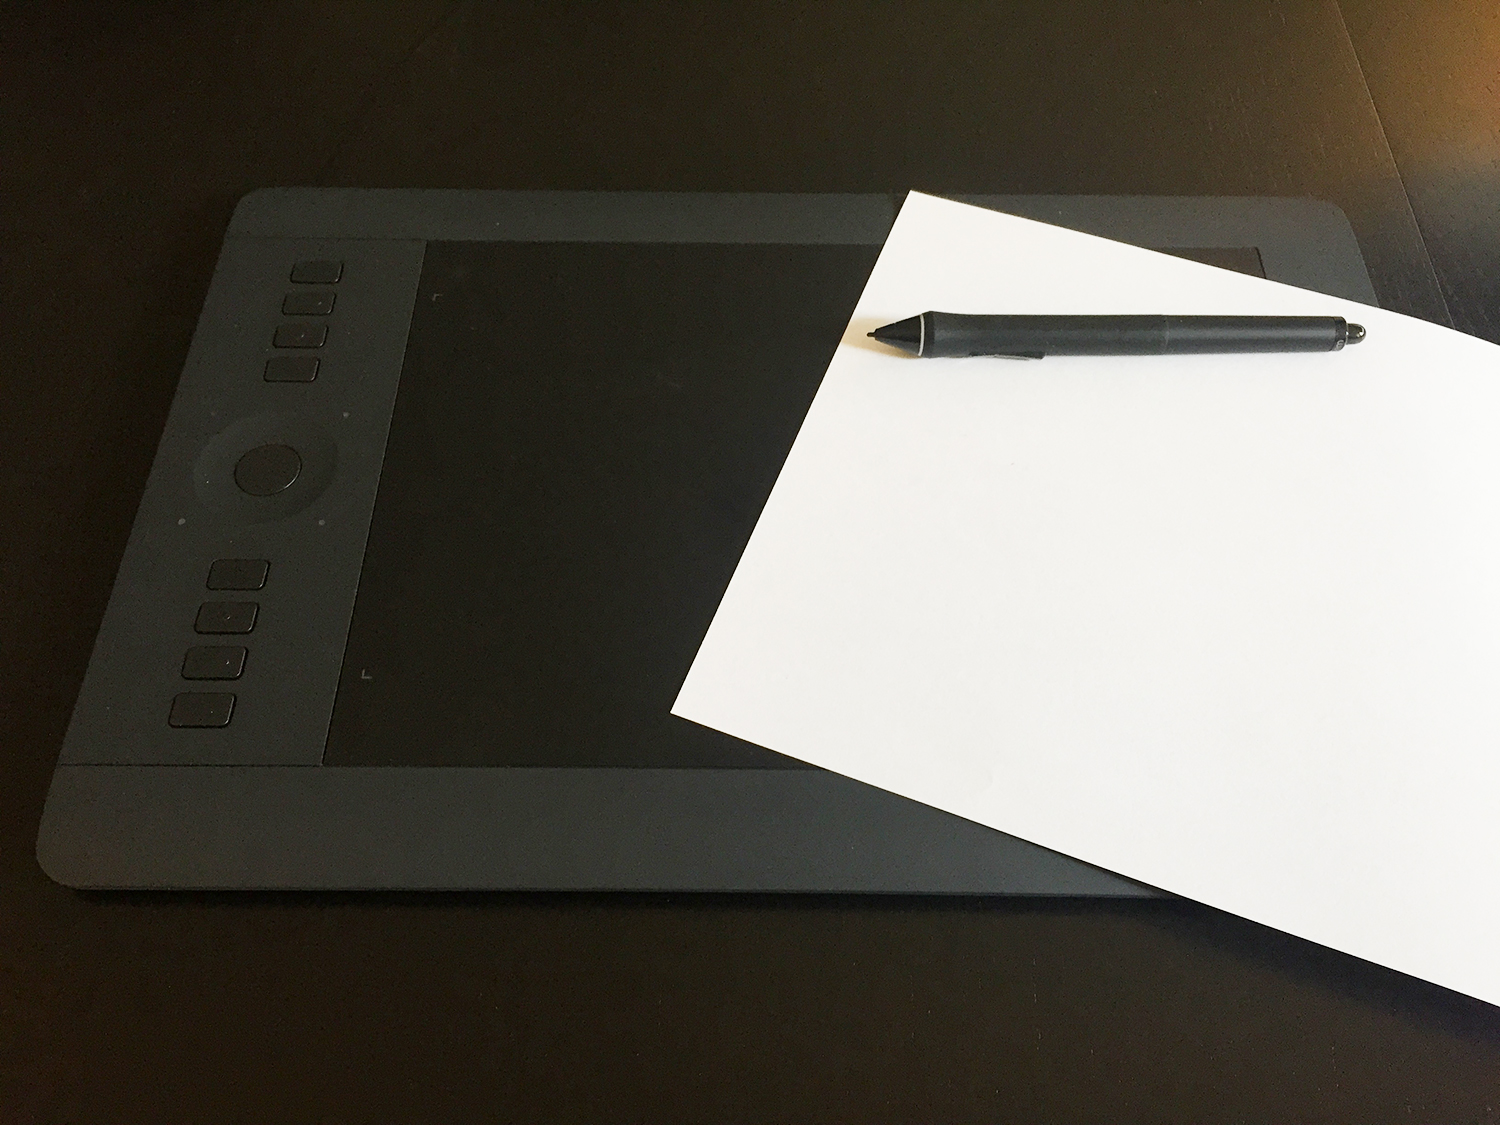
Let’s start with the basics, our Wacom Tablet and a sheet of paper.
Now let’s create a new image in Photoshop with which to scribe our sweet signature on to:
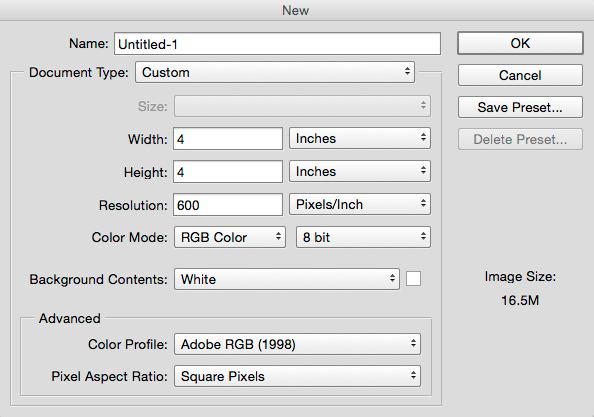
To make life easy for you, you can download a Photoshop Template containing the above settings right here.
Do you still want to argue about DPI with us? Ok cool, go here.
Here’s our new image, ready for digital signage:

The trick with tablets is working within the image canvas in a way that let’s you easily write a signature without going past the canvas you have set up. Mapping the tablet surface to the image isn’t always easy. But we can fix that quickly by mapping our canvas to the tablet with a quick signature grid (which is fancy talk for a box we drew on our paper):
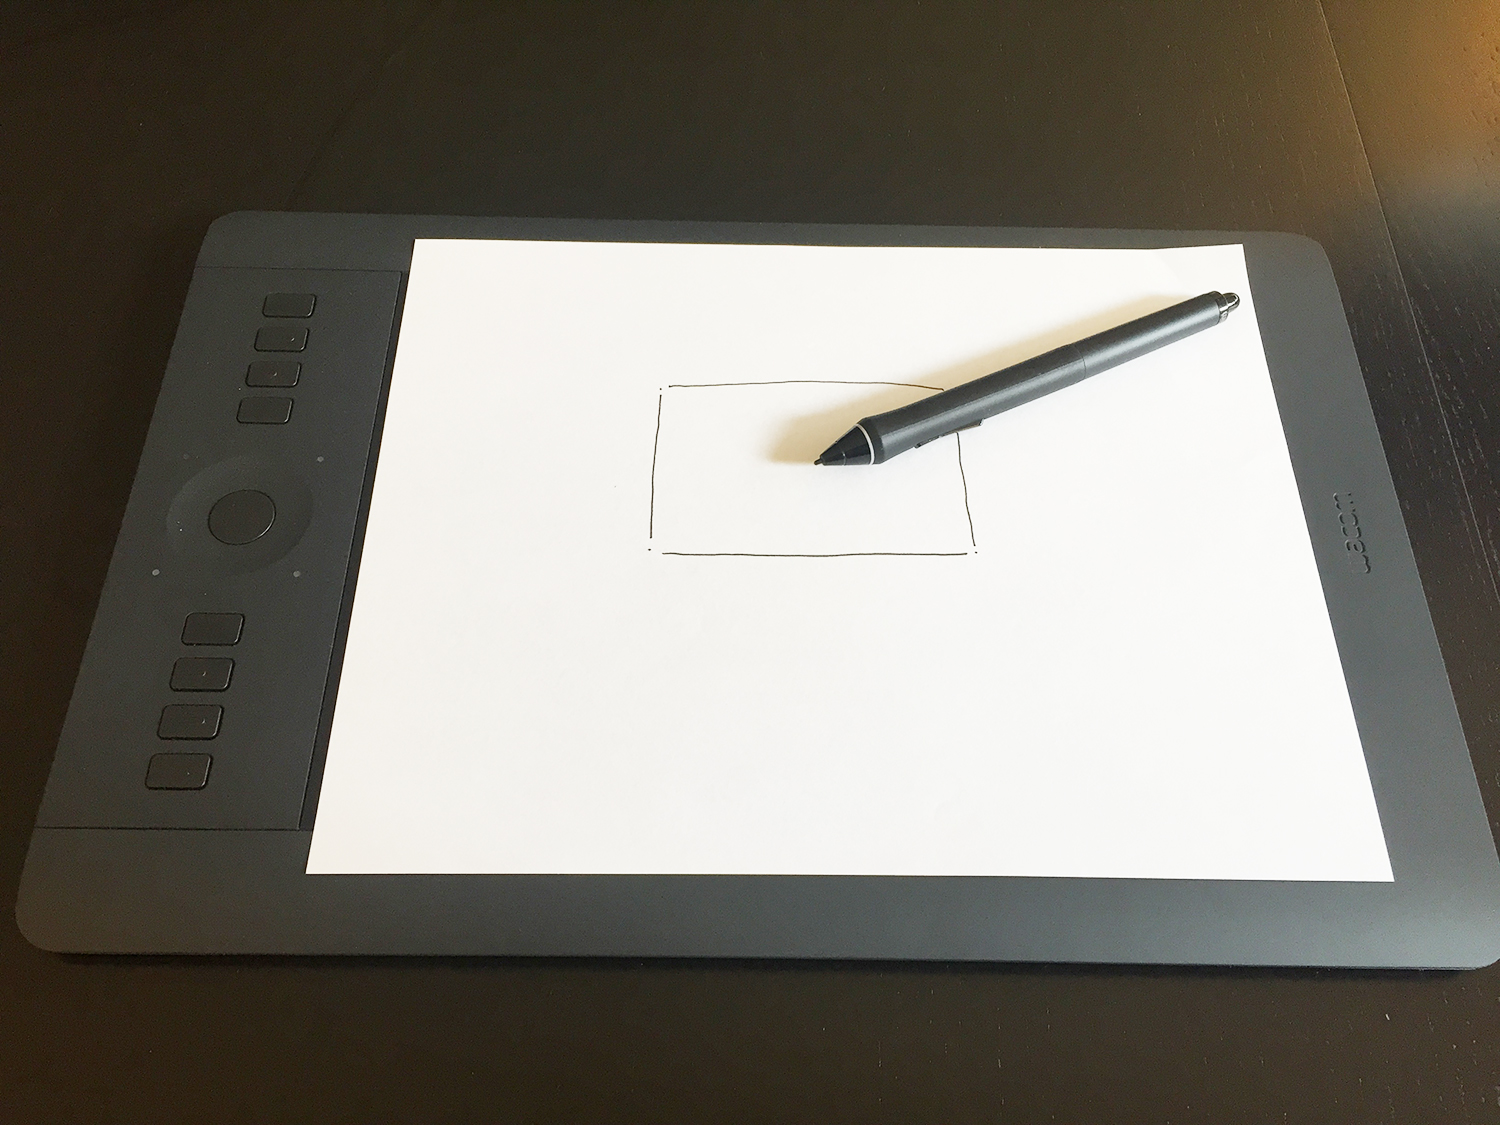
By writing on a sheet of paper with your stylus you also get the same bite and feel as writing with a pen/pencil which makes the process of signing your name feel more natural.
Ok, let’s party:
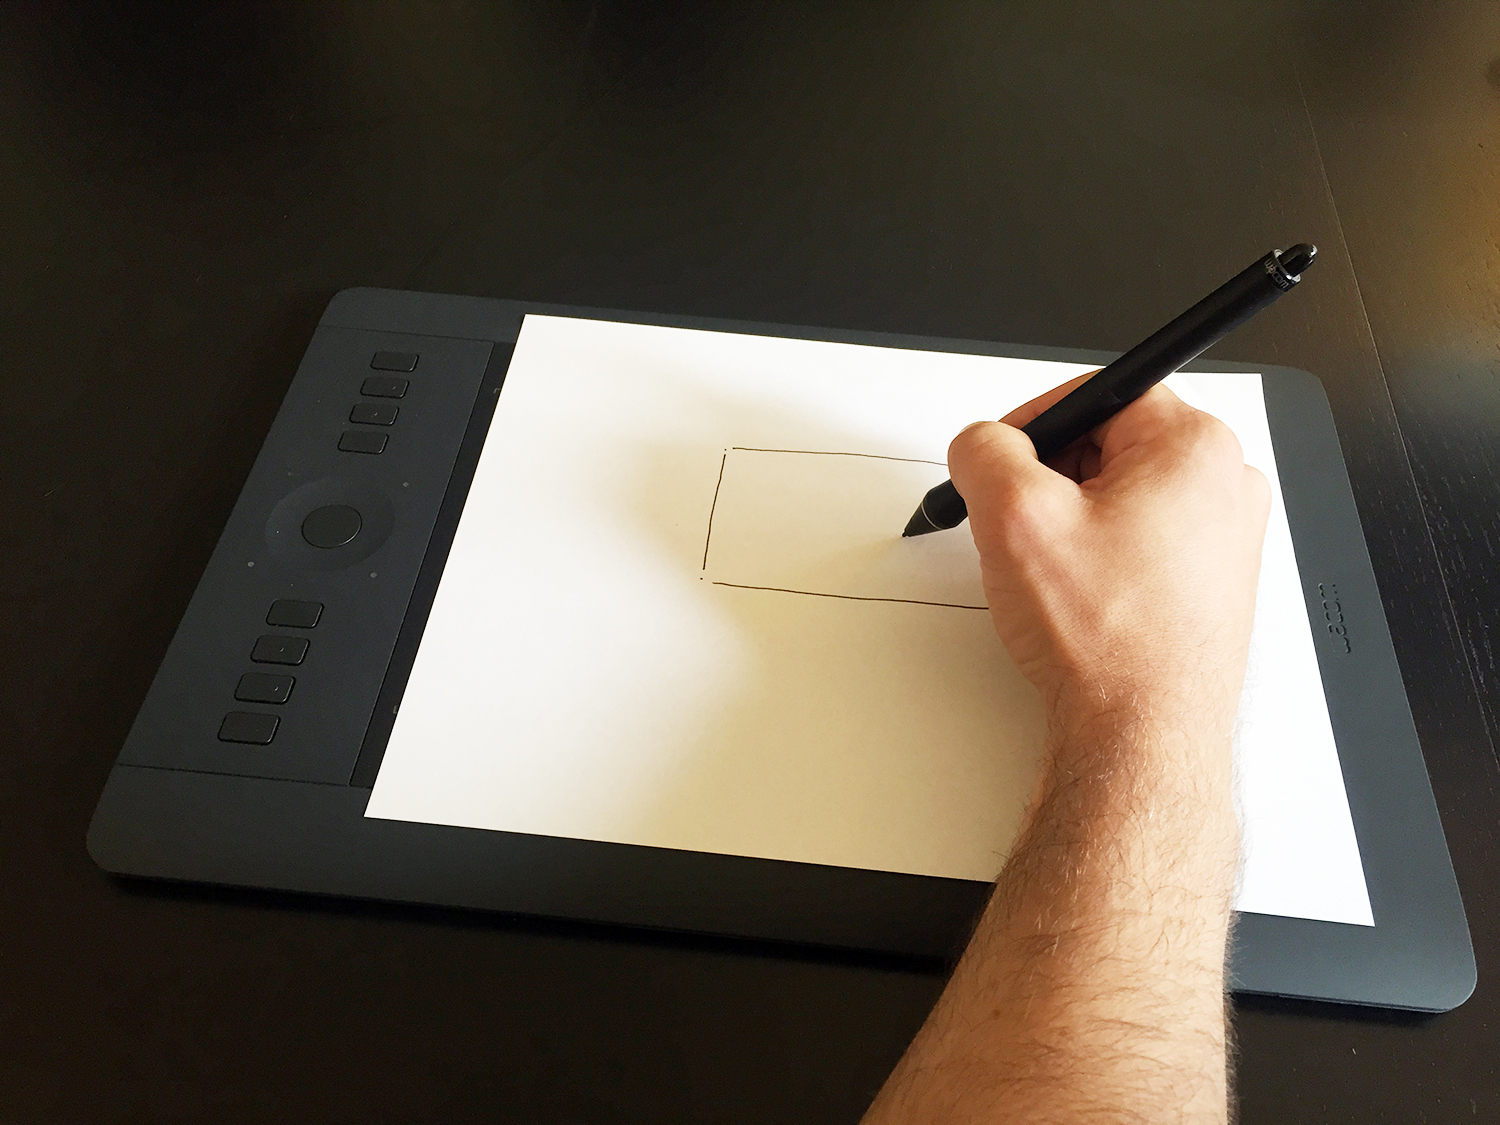
We like to crack off 3 or 4 attempts:
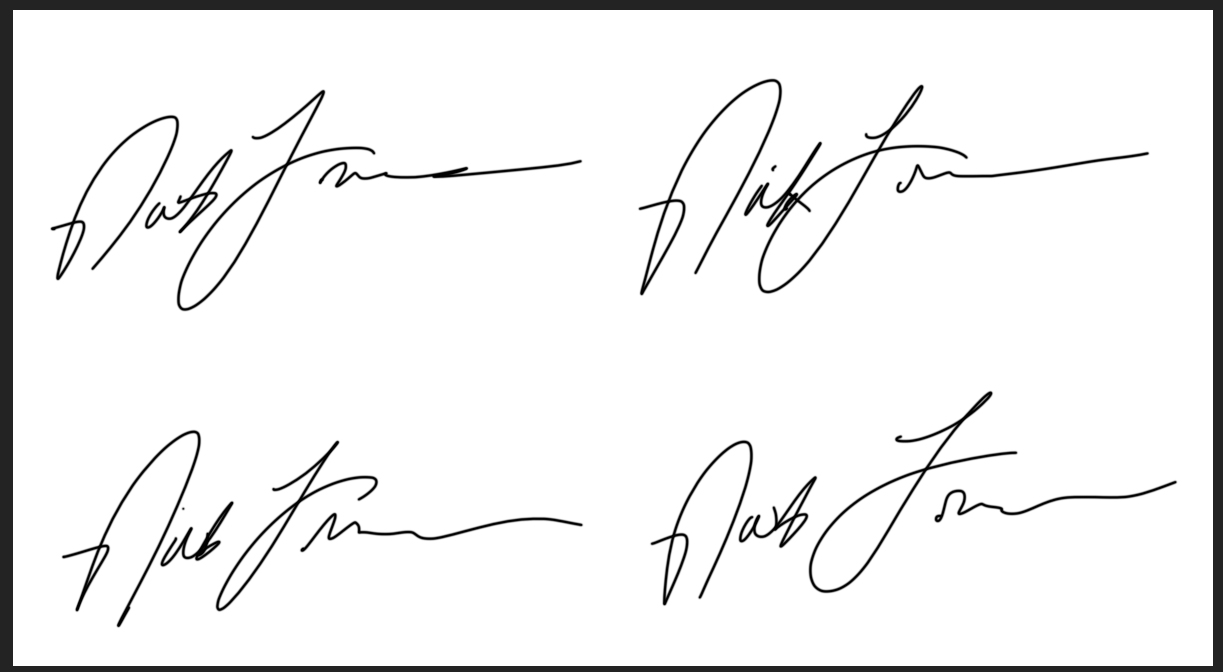
Until you find the one you like best:

At this point, head on back up to the It’s Photoshop Time! process to create your Preset Brush just like before. We like the process of using the Magic Wand Tool to select your signature because it gives it just enough grit to feel like a true signature with just the right amount of texture to make it believable.
If we head back to our sample image, here’s what both of them look like in Photoshop (scanned and using a Wacom):

Using Your Signature In Lightroom
Applying your signature to images in Lightroom is super easy.
First let’s open our original signature file in Photoshop:
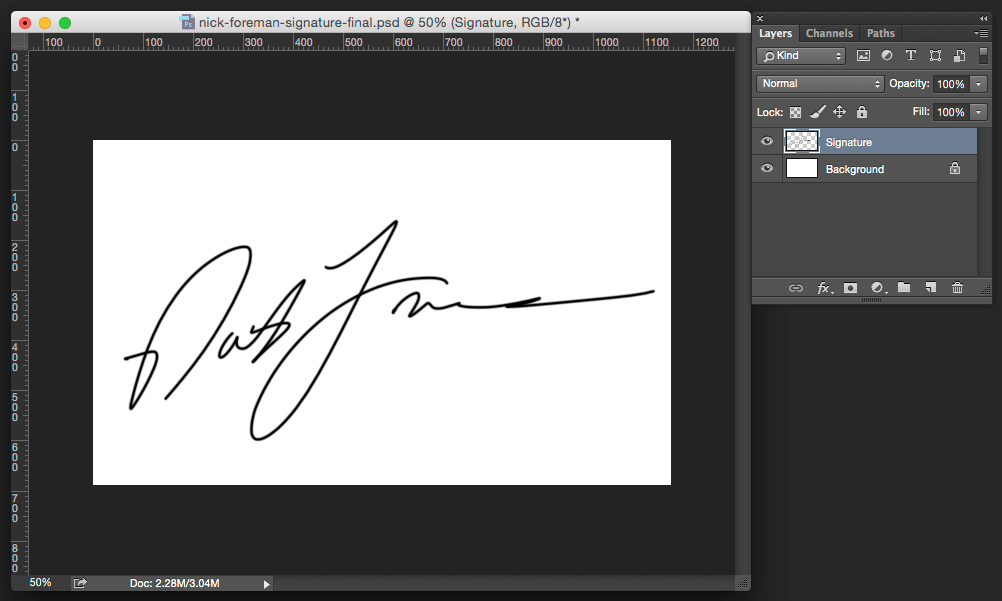
And turn off the background layer:
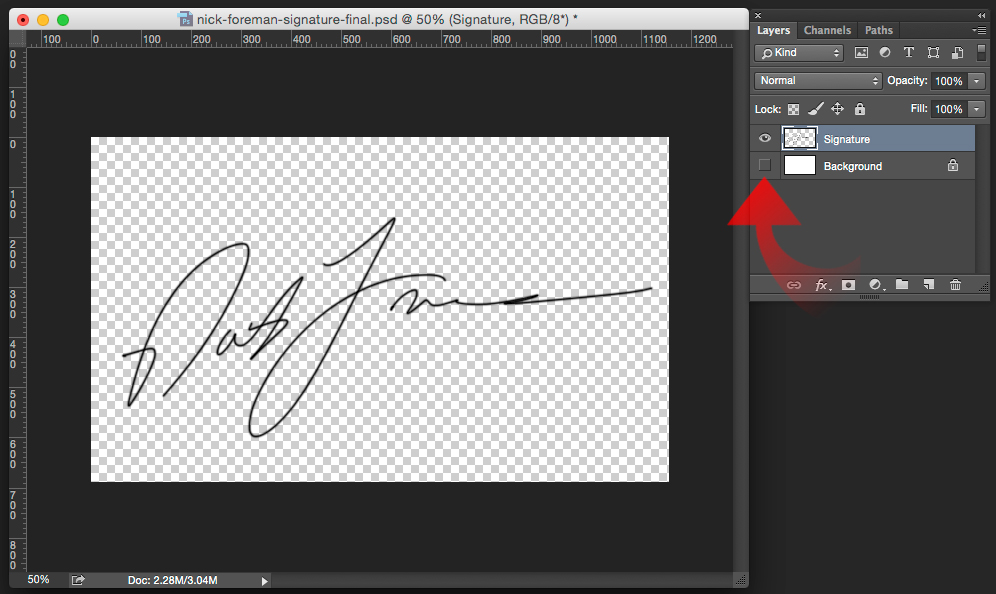
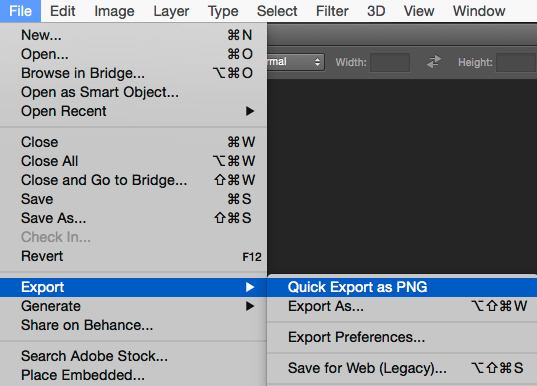
Next, navigate to File > Export > Quick Export as PNG and give your exported file a name and location for saving.
We’re now done in Photoshop, so you can close that baby down if you’d like!
Applying your Signature to Images In Lightroom
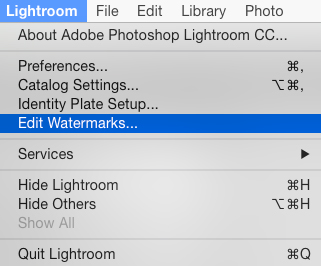
In Lightroom, navigate to Lightroom > Edit Watermarks …
And you’ll be confronted with this Beast of a dialog box:
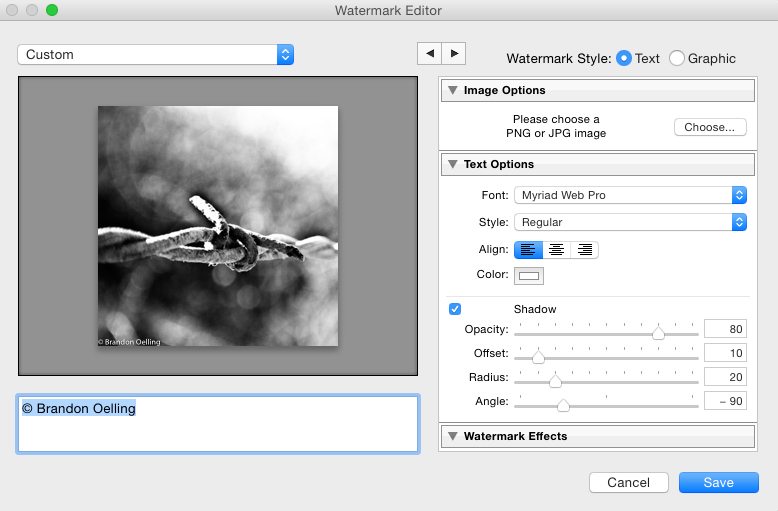
But that’s ok, because we’re going to tame the Beast and make it our own. Select to add a Graphic Watermark Style
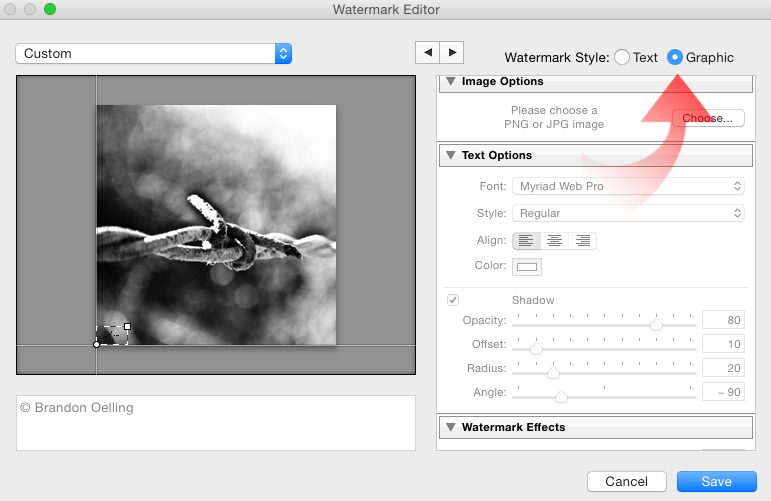
The Beast will ask you to find the PNG file you exported from Photoshop. Tell the beast where it is. Once you satisfy it’s cravings you’ll notice your signature image in the lower left of your selected image in Lightroom:
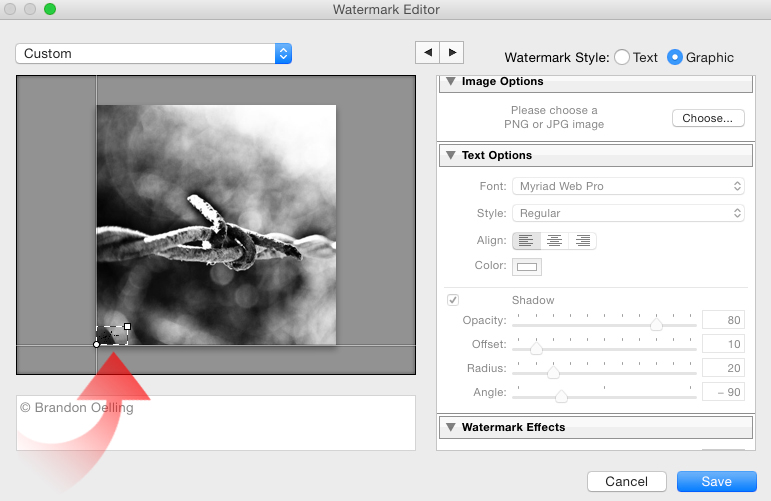
It’s up to you to determine where you want your signature to show on your images, and in our case we want it in the upper right. The Beast will allow you to change this if you answer his riddles, which means scrolling the list on the right until you reach the Watermark Effects Area.
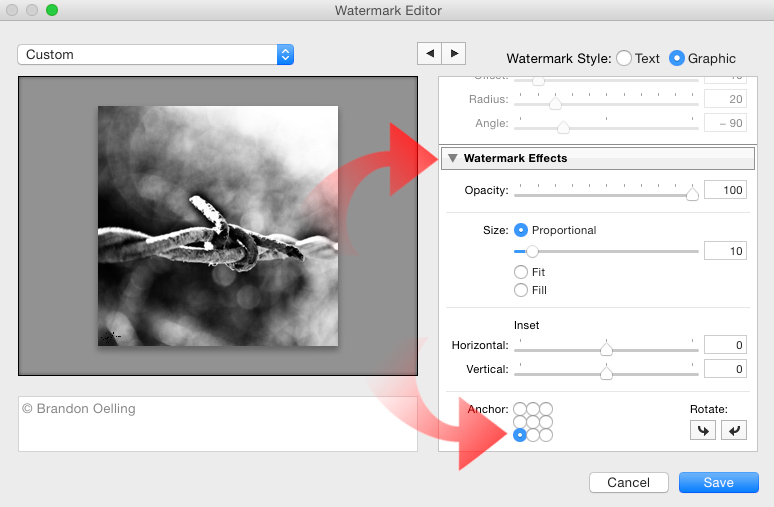
Where you can set the location where your signature will appear, and drag the handles to size your signature. We’ve gone with a larger size for effect.
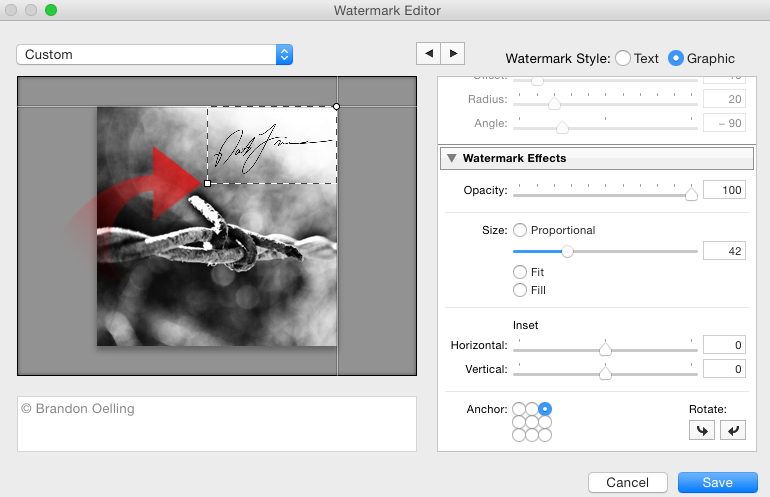
Once you are all set, select Save and name your Preset.

Upon Export of your images in Lightroom, you’ll be able to access your Digital Signature in the Export dialog under Watermarking.
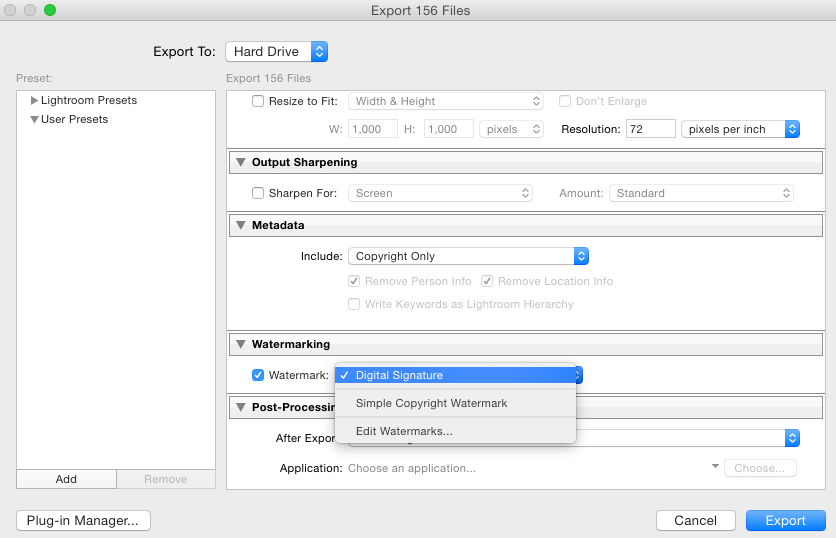
You’re a digital signature Maestro!

Now the Beast works for you.
This Whole Process is About One Thing … Leaving Your Mark
We’re showing you how to do it digitally with a signature on your own images. And, because it’s your signature, it should mean something.
If you put your name on it, make sure that the work is worthy of your name.
Now it’s personal.
So make it memorable.


