This workflow is by far the shortest and easiest path to fixing the Leaning Tower of Pisa effect that often happens when shooting architectural photos without fancy equipment like a View Camera or a Tilt Shift Lens.
Let’s start out by by looking at our final image:
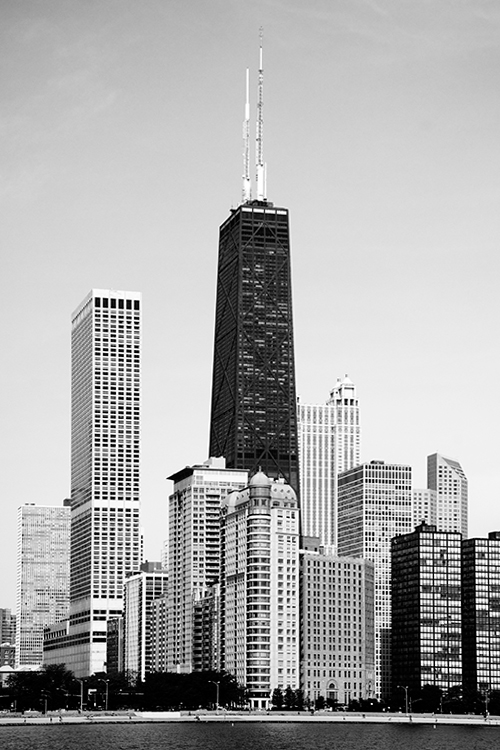
Check out those nice sweet STRAIGHT lines! But we didn’t start that way.
Shooting architecture – especially tall buildings, can introduce some unique image anomalies that you may not have afforded for in your setup. But you still have your shot, and you like what you see – but we need to straighten out the perspective. Minor adjustments leveraging Photoshop are well within your grasp – and we’ll show you just how easy it is to remedy.
Let’s open up our image in Photoshop and drag some guides that start at the base of the buildings that are out of skew:
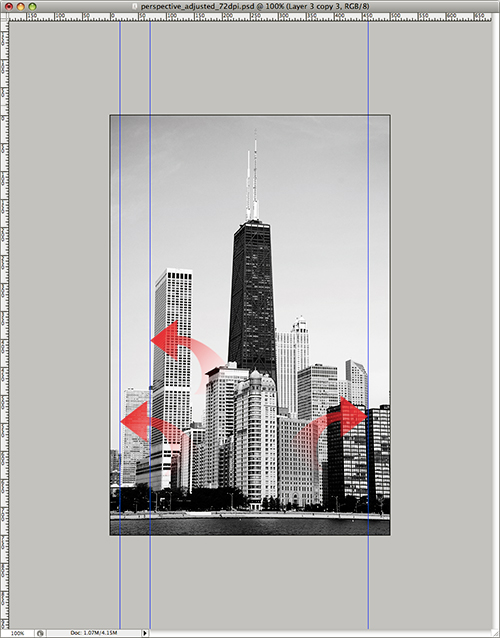
With our guides in place it’s easy to see where the issues are!
So let’s get right down to business.
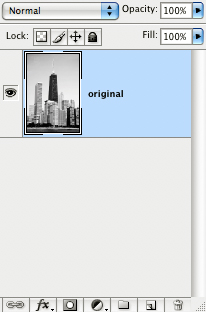
First Let’s select our original image layer:
And duplicate this layer Ctrl + j (pc) or Cmd + j (mac):
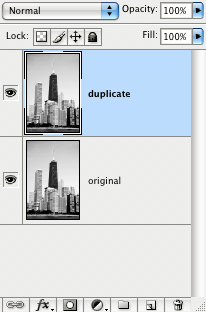
With our duplicate layer selected, press Ctrl + a (pc) or Cmd + a (mac) to select the entire layer.
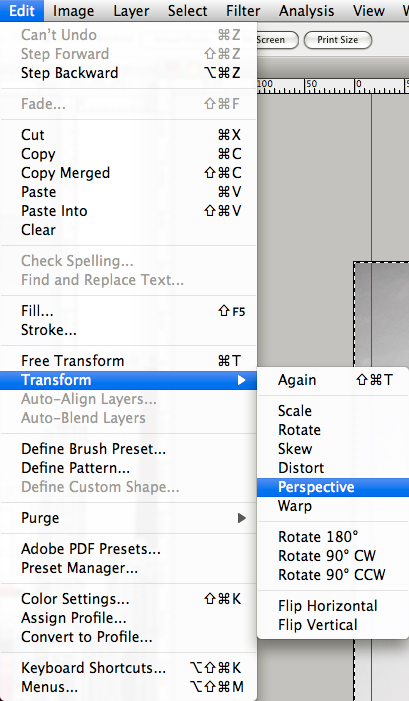
With our selection set, we’ll grab the Perspective Transform Tool via Edit >> Transform >> Perspective:
The tool will give you handles with which to pull your image into place and knock out the distorted perspective:
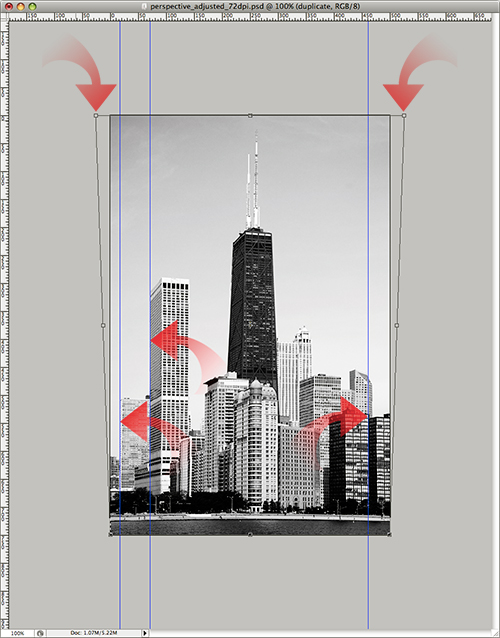
Once I like what see, I’ll press Enter and my changes will be applied. You’ll notice the image now pulls nice and flush against the vertical guides.
The nice thing about this workflow is it’s quick, repeatable and easy.
And … we’re done. Here’s a subtle before and after:
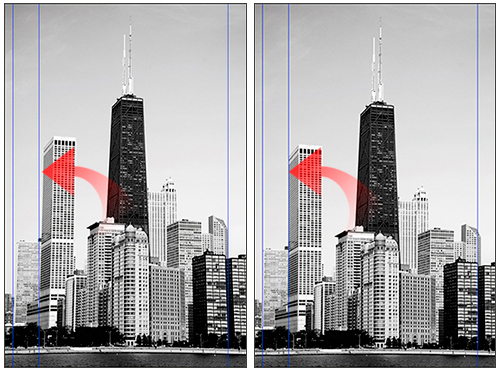
This technique could have also been applied using the Free Transform tool although I prefer the effect I get from using a perspective-focused one.


