The original incarnation of Lightroom was an incredible boon to the photographic world, allowing for non-destructive editing of images. Lightroom 2 then expanded upon the idea and added Local Adjustments to the mix, allowing for simple, non-destructive editing of unique portions of a given image.
Of course Lightroom 3 retains these tools, and they are just as easy to use.
To start working with Local Adjustments, first select your image of choice and then hop over to the Develop Module. Once in the Develop Module, look to the top of the right toolbar for the image adjustment tools.
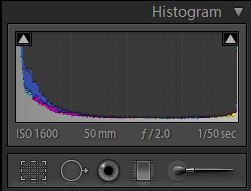
From here, click on the Local Adjustment Brush icon to fire up the the local adjustments panel.
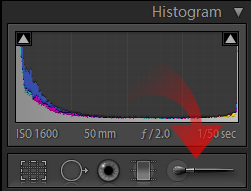
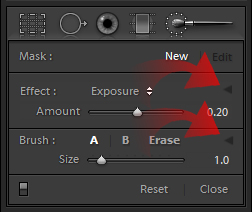
The Local Adjustment Brush panel appears as such, when in its basic mode.
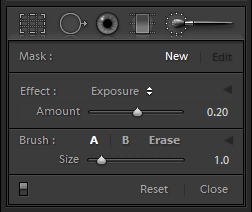
The first item in the panel is Mask giving the options of New and Edit. Local Adjustments in Lightroom work on the basis of painting a mask over the image, creating an area of added control where the Local Adjustments will be confined to. New creates a new mask, whereas Edit allows you to refine an existing local adjustment.
Effect allows you to choose the desired editing effect, Exposure shown currently. There are seven basic adjustments that can be made via the Local Adjustment brush.
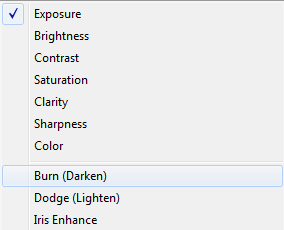
Exposure, Brightness, Contrast, Saturation, Clarity and Sharpness can all be altered via Local Adjustments. You can also directly add Color to an image via Local Adjustments. These tools effect your image in much the same ways as the tools of the same name in the main Develop Module.
The Amount slider offers basic control over the one adjustment chosen allowing you to control the level of adjustment made.
The Brush tool simply allows you to define the size of your masking brush you will use on your image. In its basic mode it is very self explanatory.
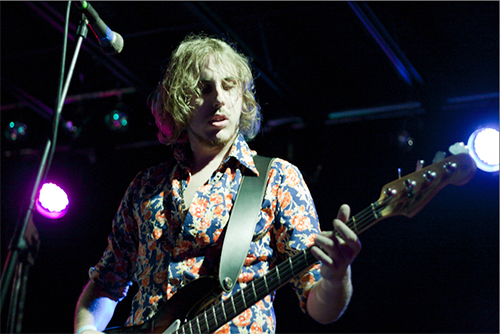
Armed with these basics, lets go ahead and define an adjustment mask on an image. Using the Local Adjustment brush, I am going to darken the overexposed part of the guitarist’s face in this image.
By changing the effect to Color, I can choose a green brush to show exactly where the mask is being flowed.
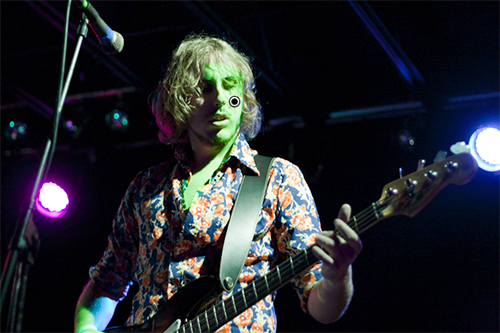
Editing the mask using color is helpful, but not needed. I am using it here to assist in visualization. When applying a mask, remember you can change your brush size using your mouse scroll wheel or the bracket keys on your keyboard. The Brush tool offers three options as well, A, B, and Erase. A and B are predefined brush sizes, and Erase alters the brush to make it remove masking, which is good for overruns.
Now that we can see the mask, lets apply the effect. First, remove the Color settings from the mask. The switch the Effect to Exposure. By setting the Exposure to (-.98), we can locally reduce exposure to “burn” down the brightness of the guitarist’s flesh.
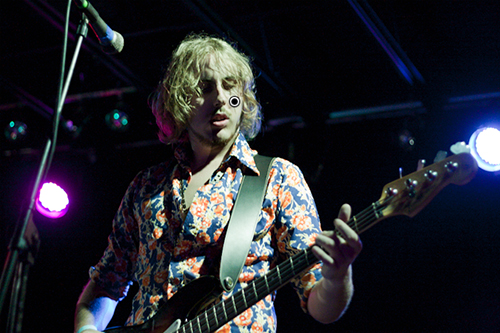
So there is the basics of Local Adjustments, let dig a bit deeper now. I am sure that you all saw the expansion arrows in the Local Adjustments Panel.
Clicking these further expands the options in front of your face.
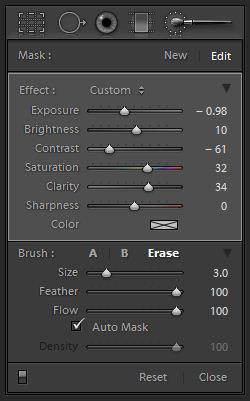
As you can see, you can now alter all seven effects right from the same panel, now switching around effects via dropbox. In this mode, you can really fine tune a selection easily, perfecting it more quickly by applying multiple adjustments at one time.
Also of note, is the added options in the Brush department. Aside from size, you can set the Feather and Flow of the mask brush, allowing better control over your masking endeavors. You can also adjust the brush’s Density. Of most importance to many users, is the Auto Mask check box. Enabling this option allows Lightroom to automatically limit your mask to areas it deems similar, much like the Magic Wand tool in Photoshop.
Using the “advanced” options really allows for more control of mask and effect, leading to better local adjustments that look more convincing in the overall image.
One final point for part one of this series, in either basic or advanced modes, the Effect dropbox can also include Local Adjustment presets. From the dropbox you can create and edit new presets, or simply select the one you desire to use. These presets combine the seven overall effects into one ready to use tool.
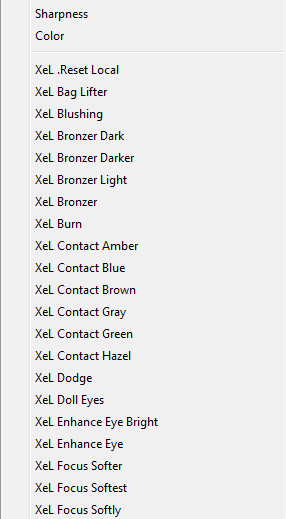
This menu shows an array of Local Adjustment Presets that we will soon be releasing as a package in the very near future. Stay tuned for more on that. But the menu contains all of these presets, each of which can be tuned for a particular purpose. Like all presets, these tools can give you a quick jump start on your custom edits and can assist in saving you a lot of time in tweaking your adjustments from scratch.
Next in Part 2, we’ll look at Saving, Editing and installing Local Adjustment presets.


