Last time we took a look at the new Lightroom 3 Import Module, we merely took a brief survey of the features present in the module. Today we are going to dig a bit deeper and really take a look at how the tools work – hopefully providing some insight into the module’s functions which allow you to easily configure your import sessions and import presets to best suit your needs.
Our key feature we are focusing on here is the Import Preset feature. At the bottom of the advanced Import Dialog you can find the Import Preset tool.
By leveraging the use of Import Presets, you can refine and streamline your import workflow.
From this drop-down, you can apply presets or create new ones. Let’s create one and name it Default.
Click on Save Current Settings as New Preset…
This is the first step to streamlining your import process.
Personally, I use multiple Import Presets, as I import images into Lightroom differently based on the style of shoot. Weddings get named a certain way and have a particular Develop Preset attached. Same thing with portrait sessions and personal work: each type of session has different naming conventions and locations on my hard drive with presets and tags automatically applied.
Utilizing presets ensures that I maintain uniformity among sessions without having to spend additional time on each import configuring the settings to my needs.
Now that we have covered the preset angle, lets take a deeper look at a few tools, namely File Renaming and Apply During Import. Most other features of the Import Module are self explanatory and were covered in Part 1. These 2 tools have a few options that I want to discuss a bit more in depth, especially if you plan on saving your modifications as Import Presets.
The File Renaming tool can be of great importance to your organizational needs, both in Lightroom and your Files System. Properly named files are much easier to identify than img_2543.dng.
The File Renaming Tool makes the task of renaming your file on import easy and allows a great level of customization.
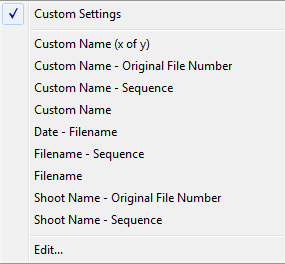
Clicking on the Template drop-down will provide you with a selection of options to consider for renaming your files.
From this list, you may find an option that is appealing to you, but I almost always opt for Custom Settings which can be configured using the Edit… option.
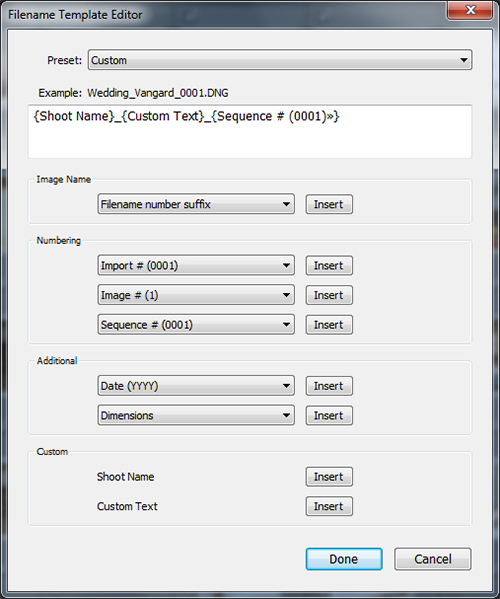
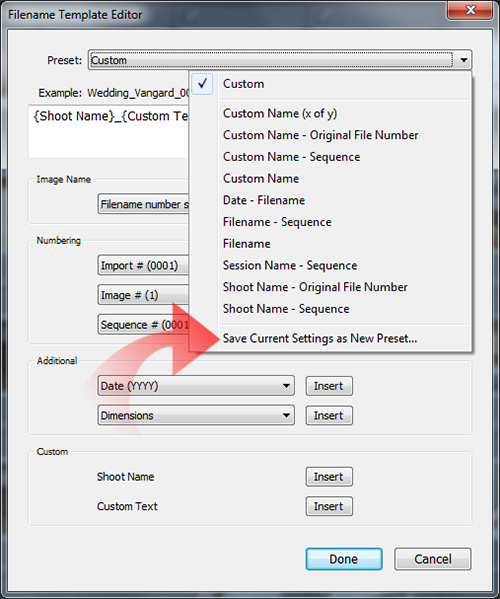
From this dialog, you can create the perfect filename structure for your needs. The above settings make up my default file naming routine for weddings. I apply a Shoot Name, Custom Text and then assign a Sequence number to replace the original number produced in camera. You can mix and match your renaming options as you desire here, just remember that Shoot Name, Custom
Text and Sequence Numbers are not assigned in this window, but in the File Renaming Tool itself.
Once you configure a naming convention you find suitable, it would be a good idea to save a Renaming Preset, so that you will always have this configuration handy. Simply click on the Preset drop-down,
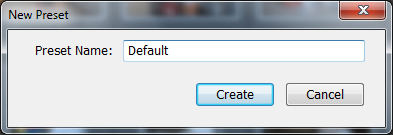
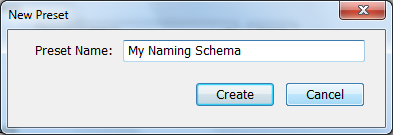
Now select Save Current Settings as New Preset… which will bring up the New Preset Dialog.
Give it a name and select Create – you will now find it in your drop down as a selectable option.
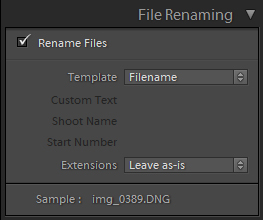
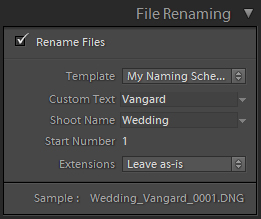
Now with the new preset selected, we can go back to the File Renaming Tool and finalize our settings. Once we’re back in the Import Module, note that the Custom Text, Shoot Name and Start Number are now editable.
Simply fill in the fields as desired, and you can see a preview of your file name scheme below in the Sample area. Now you have complete control of the names of your images as they are copied to your computer. Now lets look at Apply During Import.
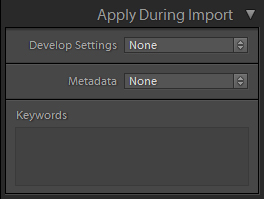
Apply During Import allows you to apply any given preset to an image automatically, applying much needed metadata to you images, as well as allowing you to apply image keywords at the same time.
Clicking the Develop Settings drop down brings up a list of every develop preset you have installed in the Develop Module. As an example, if you have a particular preset you apply to all portraits, it would be wise to elect to apply it on import. I often use XEQUALS Color on an entire shoot, selecting a film simulation and applying it to all images on import, much like shooting a roll of film.
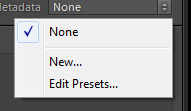
The next option is the Metadata drop down. This allows you to apply Metadata presets to your images, appending EXIF, IPTC and other extended metadata.
Where None is shown, any metadata presets you create will populate. New… allows you to create your own custom metadata presets while Edit Presets… allows you to edit your creations later.
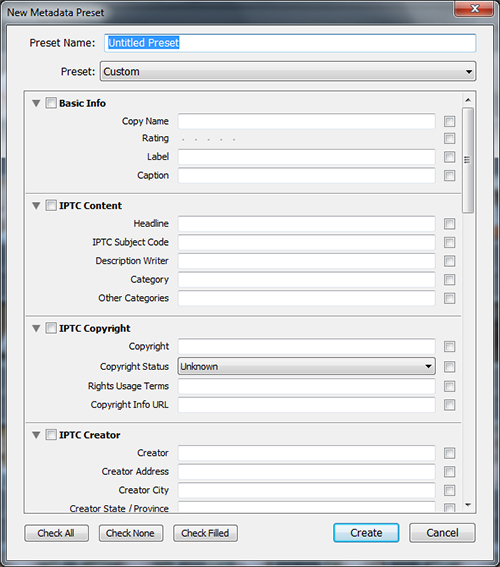
When you click New… you will be presented with this dialog.
Fill this out with all your pertinent details and click Create to name your new metadata preset. Doing this now can save a lot of time in metadata maintenance later on. You can create multiple metadata presets such as full copyright, creative commons, and so forth.
Finally, we are left with the Keywords section. If you are setting up these options to create a preset, make sure the keywords you choose are relevant to the photos you have selected for import as these will be applied to all images on import.
By combining custom Import configurations with Renaming Presets, Metadata Presets, and Develop Presets, you can create some excellent Import Presets that will save you a ton of time.


