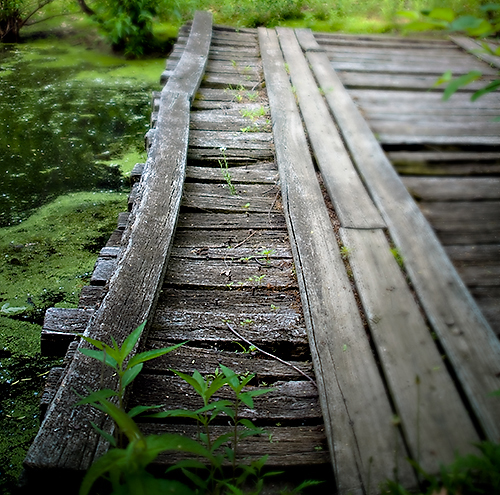
Do you love a soft fuzzy depth of field in your images?
I’m going to show you a quick and easy technique to enhance or otherwise introduce depth of field into any image of your choosing.
Shot at 1/60 f4.0, 28mm, ISO 100
Processed with XEQUALS Summer Rain for Lightroom
So how did I achieve this effect? Sit back and let’s demystify this technique. It takes less than 8 clicks in Photoshop to prep your image. After that it’s a few brush strokes here-and-there and you’re done.
Here’s our original image right off the camera:
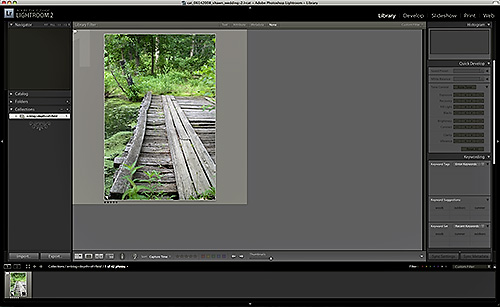
Next we’ll go into the Develop Module and Crop this to size:
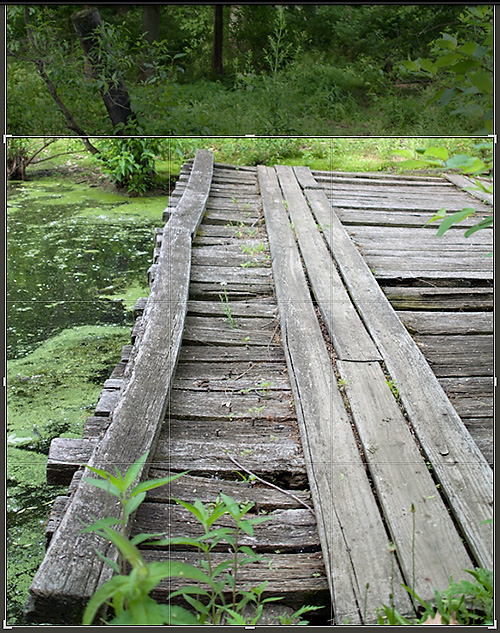
Using a 1×1 ratio (remember I said I crop everything square this year!)
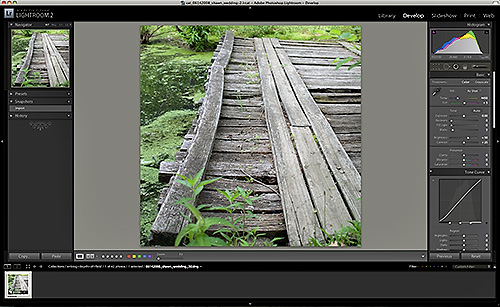
At this point, I’m not happy at all with the quality of the image. I overcompensated with the aperture and things are a bit too high key. Luckily, I have a handful of killer presets at my disposal (and so do YOU) – and with one click I drop the XEQUALS Summer Rain preset on this baby and we’re set:
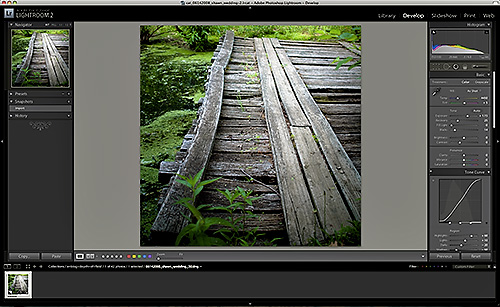
We’re ready to export to Photoshop. Select the image and right-click Edit In >> Edit in Photoshop …
Once the export process completes, I’m now sitting in Photoshop – ready for business:
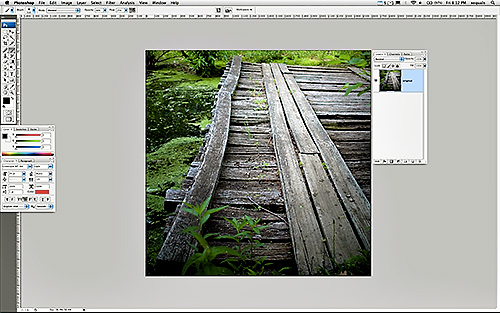
I’ll make a copy of my first layer using Ctrl+J (pc) or Cmd+J (mac):
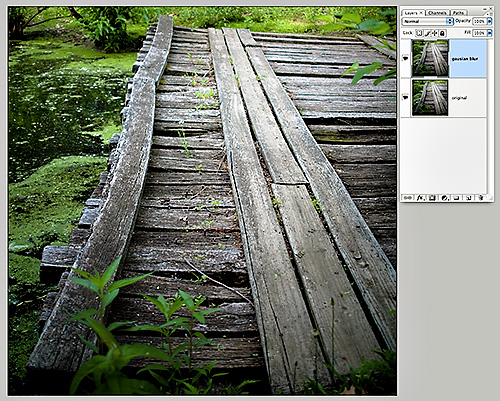
Next select Filter >> Gaussian Blur …
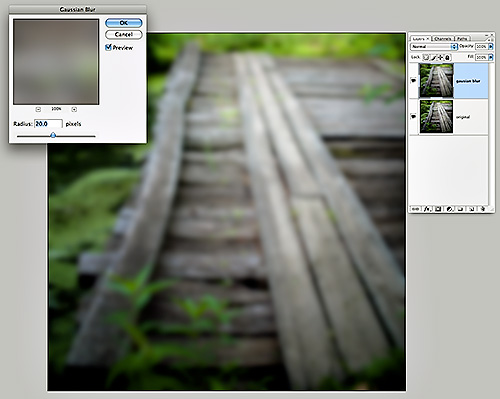
Keep in mind that the pixel amount is resolution dependent. In this example I am working at 240DPI, so 20 pixels is ample. For images higher or lower in DPI you will need to play with the number to get the right adjustment for your particular image.
I’ll again make a copy of my first layer Ctrl+J (pc) or Cmd+J (mac):
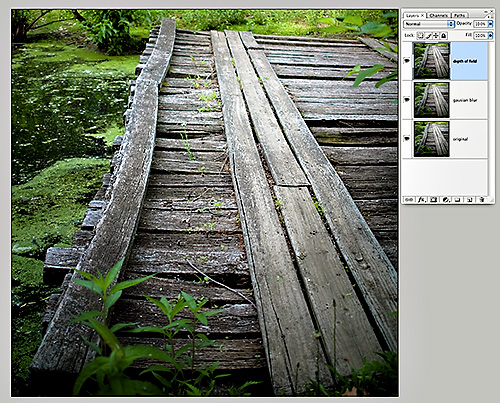
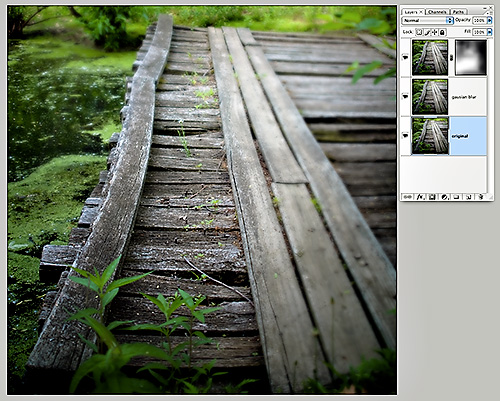
It is on this third layer on top that the real magic happens. With this layer selected click the Add layer mask icon:
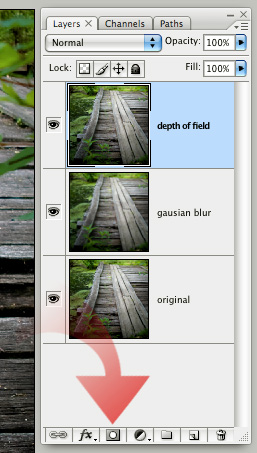
This will add a layer mask to the top layer and it is with the Brush tool …
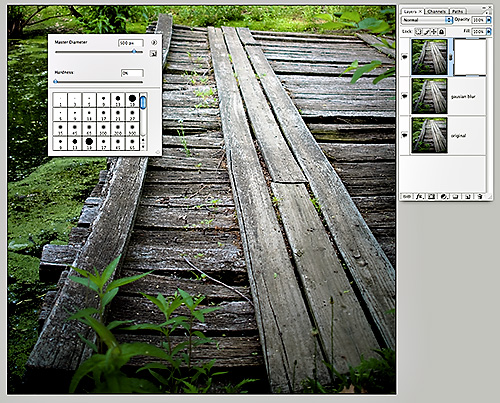
… using varying Opacity and Flow …
![]()
… that I will paint on this layer mask – revealing the gaussian blurred layer below (thus ‘compressing’ the depth of field) on those areas we want to bask in the soft fuzzy depth of field mimicry we all know and love.
As you will see, applying black to the layer mask will reveal the blurred layer below. If you go too far with your adjustments and want to re-focus an area you may have blurred too much – just paint it back in using white.
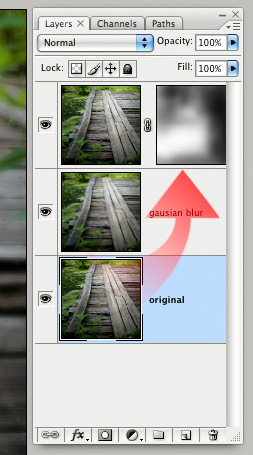
A little bit of back-and-forth with black and white brush strokes and we’re set:
One thing I especially like with this technique is how the whites and highlight tones get sort of glowy and fluffy when I go heavier on the gaussian blur – the mood totally changes.
This technique is a sure-fire way to fix, alter, and otherwise bring new life to those situations where you want a little more emotion out of your images yet want to minimize your workflow.
