File Transfer Protocol (FTP) is an amazingly simple and powerful technology that can be leveraged within Lightroom.
I personally use this feature for every client project as a means to deliver a gallery of work for proofing and selection. The ability to customize the look-and-feel of the gallery adds a nice touch as well.
We’ll start by walking through the selection and setup of both the images and Lightroom so that we can upload our images, and place them into the proper locations for viewing on the web.
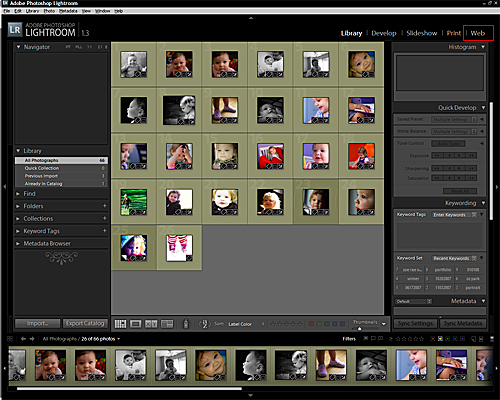
First, select the images you wish to upload to your gallery, and then select the Web Module:
While in the Web Module, you can set a multitude of options which will affect the content and layout of your images as they relate to your chosen template:
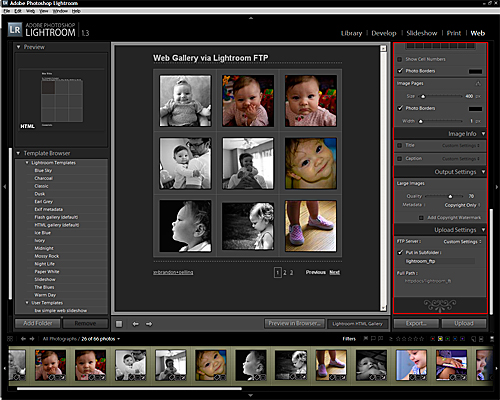
With your template configured, we can determine what folder name we wish to have created when Lightroom uploads our gallery.
Next setup your FTP server profile:
The settings for your particular provider (login/password) will be required at this point so that we can successfully connect to and verify our information.
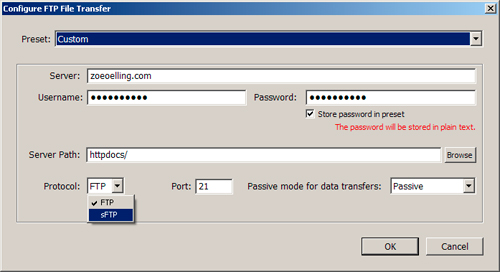
For ‘server path’ you must know which folder comprises the location on your server for web files. If you do not know your folder names by heart, select ‘Browse’ for your server path and Lightroom will connect with the supplied login/password entered previously.
One feature worth noting is the option to use Secure FTP (sFTP) which will allow Lightroom and your server to interact over an encrypted key should you be concerned about securing your upload.
With all your settings completed, select ‘Upload’!
Keep and eye on the progress indicator to determine when your upload is completed.
Once completed, we can refer to our destination URL!
Your settings will be saved in your catalog and can be leveraged for future galleries.


