I don’t use the Quick Develop Panel.
There I said it.
I’m as guilty as the next person for having ignored what is truly a powerful tool in Lightroom. Sure I’ve played around with some Alt key trickery but I never really thought of Quick Develop as a valuable part of my workflow … until now.
On a recent project for a friend, I began creating some virtual copies to experiment with some presets I was working on. After applying a couple presets, I settled on a version that was a bit overexposed after applying the preset. I still wanted to maintain the overall look of the image, but I needed to tweak the exposure a bit.
Normally, I would have approached this task in the Develop Module, setting my desired exposure for each image – or by using Auto Sync to apply those changes across all images. But what if I want to apply exposure changes, maintaining a proportional increase based on each individual images unique exposure? You can’t do this in the Develop Module, but you CAN do this in the Quick Develop Panel.
Who’d of thunk it?
It’s difficult to explain this with words alone, so let’s get to the exercise.
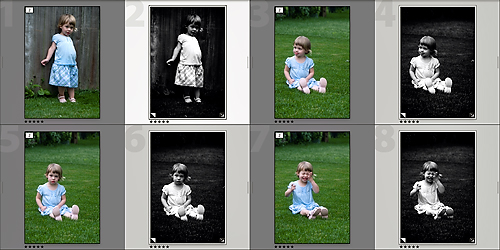
Beginning with my original images:
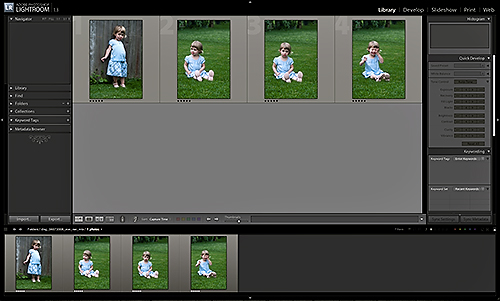
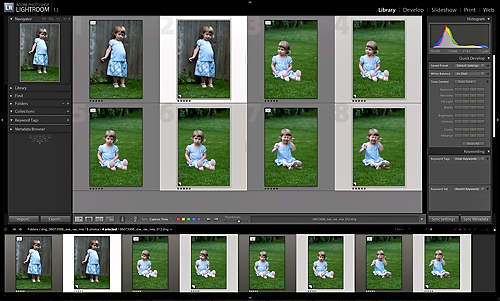
Next I use one of my favorite shortcuts Ctrl+’ (pc) or Cmd+’ (mac) to create virtual copies:
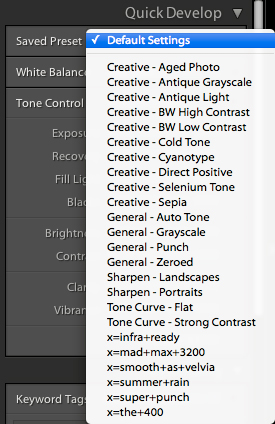
Using the Quick Develop Panel, I select a preset (x=super+punch):
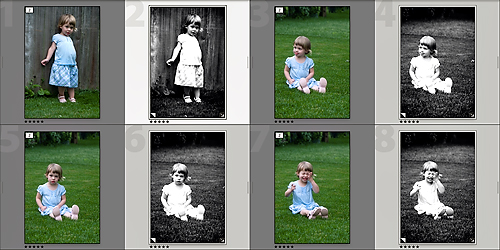
The virtual copies are looking good, with the exception of some overexposure – especially in the highlights:
Next we’ll use the Exposure control in the Quick Develop Panel to decrease each images respective exposure point by 1/3 of a stop – a proportional change across all selected images.
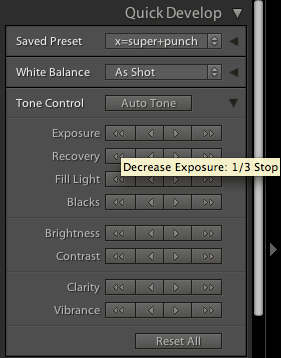
With these changes in place we can see that the blacks are a bit too deep so I can again go to the Quick Develop Panel and select the Blacks slider to tone the blacks down – these changes will be applied proportionally as well!
When I have completed my first round of picks, I am finding I can stay in the Quick Develop Panel to get a handle on exposure before I deep-dive into the Develop Module to work image-by-image. Once I am happy with my final images, I commit my virtual copies and prepare for print.
Please feel free to comment on alternative approaches using the Quick Develop controls … as my own experience is a work-in-progress.
Happy Shooting.


