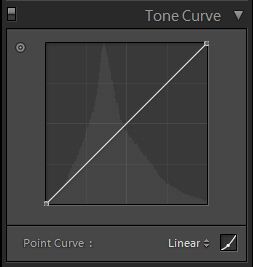
When you launch Lightroom 3 and head over to the Develop Module, you may notice some minor differences from Lightroom 2.
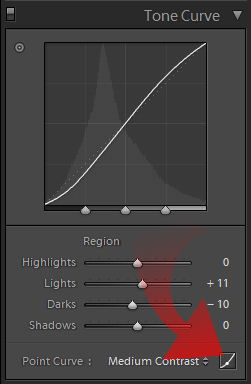
The point of interest today is located in the Tone Curve palette. At first glance you see the old, friendly Parametric Tone Curve tool Lightroom has had since day one.
But look closer.
At the bottom, as indicated in the image, is a small button. In the Point Curve part of the palette, next to the Curve Contrast drop menu is located the Edit Point Curve button. Give it a click.
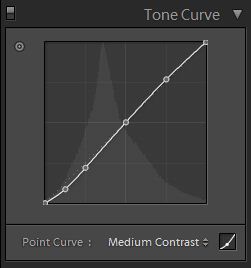
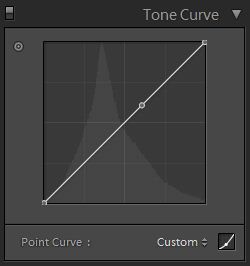
With that click, the Parametric sliders disappear and the Tone Curve line becomes populated with control points. Lightroom finally has caught up with Adobe Camera Raw when it comes to control of the Tone Curve! Editing in Point Curve mode is simple, just click on a point and drag it where you want it to go.
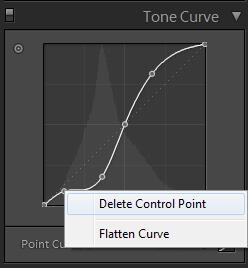
A simple right click on an errant control point allows you to delete the offending plot.
You are also presented with the option to Flatten Curve, if you want to start with a blank canvas. This removes all the control points except the anchor points at either side of the curve.
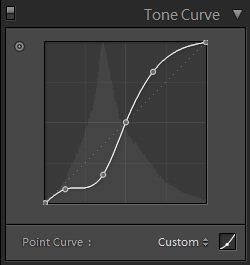
To add new points again, simply click along the line.
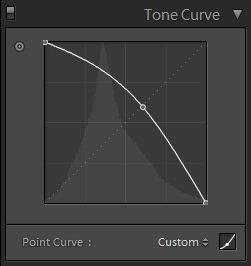
Then click and drag points around however you like, you can even make a negative curve.
In the past, this required taking your file into ACR to make changes to the Tone Curve and then re-import your image back into Lightroom to bring your new curve with you. At that time you could save it as a preset and modify it from there, but it was always a hack and never felt right. With Lightroom 3 you have control over the Tone Curve again.
Bend it to your will!
Now if we could just get RGB Curves in Lightroom …
