Color casting is, quite possibly, one of the most frustrating issues you can have with an image. Regardless of how the image was captured, digitally or on film, you can easily run into issues with your lighting, leading to some major color issues.
Even when utilizing RAW, you will occasionally run into color casts that are not easily resolved with a simple click of Lightroom’s White Balance Selector. That’s when you need to dig a bit deeper to perfect you image.
Between this and my next article, I am going to touch on some basics of color correction. This time I am going to focus on Lightroom, which handles most color issues great, but has a rather limited toolset that falls apart when you encounter more complex color issues.
Lightroom can do an acceptable job at this for most images.
Next time I will look at a few of the multitude of options made available to you in Photoshop, where you should be able to fix most any image that you couldn’t quite manage with Lightroom.
Before we move further, we need to consider the quality of the images we are about to correct. To get the best results in Lightroom you should be working with camera RAW files or high-bit depth TIFF files. If you drop a bunch of Jpegs off your point and shoot, Lightroom will be of limited value when it comes to correcting color issues.
When you need to fix a Jpeg, save yourself the headaches and just head over to Photoshop. But with RAW files and high quality TIFF files Lightroom should be adequate to rectify most color casts. It is a case of choosing the right tool for the job.
So let’s take a look at color corrections in Lightroom. Unlike Photoshop, there is a limited amount of tools available to you in Lightroom to solve color issues, but limited does not mean incapable. The most versatile tools for fixing color issues in Lightroom are the White Balance settings. This should be obvious, as the white balance directly affects the overall color of the photo and is often the root cause of color casts.
If you were planning ahead before a photo session, you should remember to grab a gray card or color-checker to shoot any time you have a change in lighting. Snap one of the cards in a few frames and you can set the white balance to the gray of the cards and copy the white balance settings to all the other images in the set. Ninety percent of you color issues are easily solved in this manner. However you don’t always have a gray card with you and sometimes photo opportunities pop up in the worst of lighting conditions.
Other times you are working on a scan of a film shot and you have to compete with the color rendition of that particular film stock. Either which way, there is no automatic solution for color issues in these situation.
Go ahead and open a photo that has a definite color cast. I chose a film scan with a definite blue color cast.
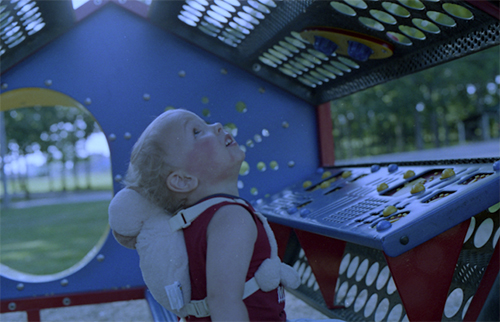
Head over to the Develop Module and select the White Balance selector.
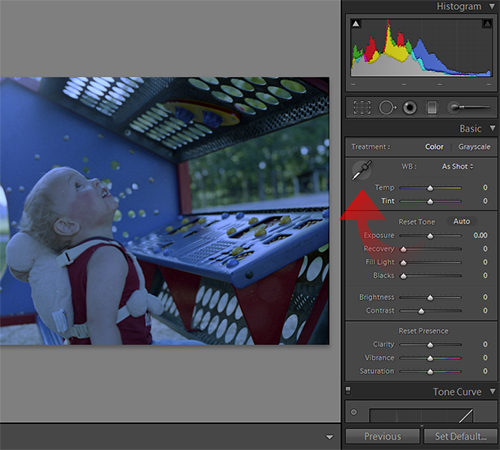
Now, you want to scan the image with the selector, watching the preview in the upper left hand corner. Slowly move the selector tool across the image until the preview shows you a more acceptable color range for your image.
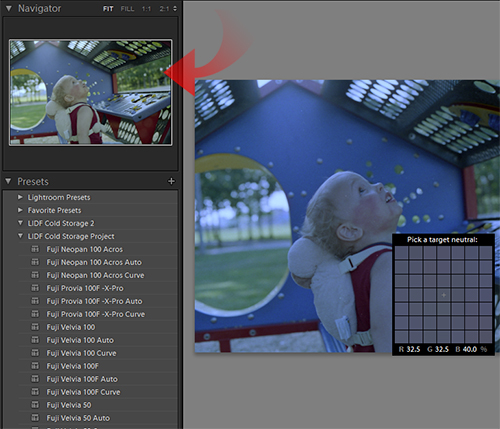
Keep in mind, you are not wanting to choose a normal white point, you are using the selector creatively to compensate for color issues, which was caused in this case was a badly expired film. Once you find a decent white balance to correct the color error, click to lock in the selection.
This will most likely not be perfect, but will present you with a suitable starting point for further correction.
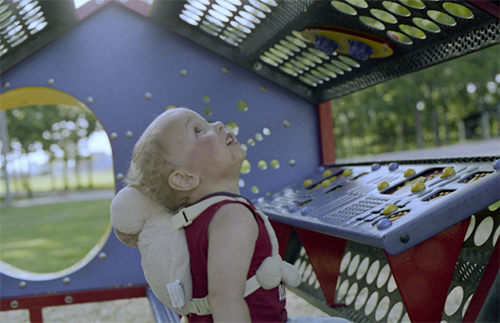
As you can see, the image is definitely improved, but now has a noticeable yellow cast to it. This can be further treated by refining the Temp and Tint settings. I am going to back off the yellow some by moving the Temp slider left slightly toward blue. Then to bring some more yellow out, I am going to pull the Tint slider toward green slightly.
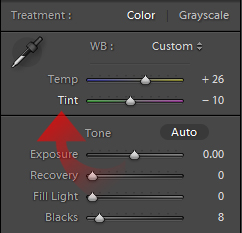
These two minor adjustments helped correct the image quite a bit.
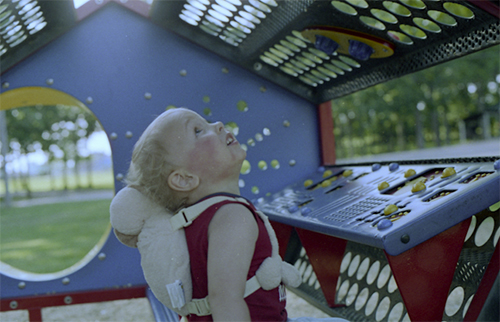
So far, everything has been done in the White Balance tools. Unfortunately, Lightroom does not count the blacks in the image into this equation as Levels in Photoshop does. So, to bring back some of the blacks, I increase the Blacks slider a bit. Give it just enough to bring some punch into the shadows.
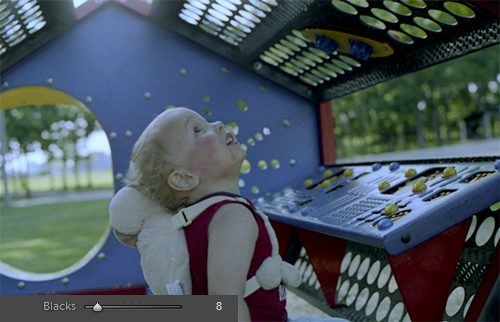
Finally, give the image a hit of Clarity and the color cast correction is just about as good as you are going to get it in Lightroom.
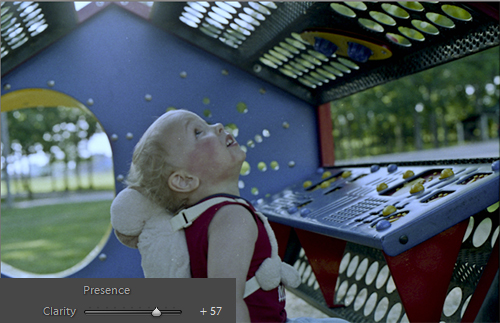
Now consider the before and after image.
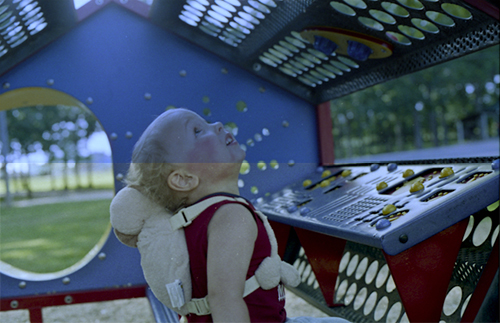
So that is the basic process for correcting color casts in Lightroom. Lightroom can do an acceptable job at this for most images. However, you will run into images that Lightroom will not be able to correct. For these images you are going to need Photoshop.
Truth be told, Photoshop can usually outperform Lightroom when it comes to removing color casts. So next time we will look at the options that Photoshop provides you to correct color casts. Lightroom is pretty much limited to one basic method to remove color casts. There are countless ways to do so in Photoshop, and we will look at a few of these in a future post.


