Adobe Camera Profiles
Have you ever taken a shot that looks awesome on the back of your camera, but looks a little lacking when you import it into Lightroom? Many people have run into this issue, and more than a few have been discouraged from utilizing their cameras RAW settings. Short of creating a preset to simulate the look of your cameras display, there was not much that could be done.
In the past year however, Adobe released Camera Profiles for Lightroom and Adobe Camera Raw. These profiles alter the color space in Lightroom itself, allowing a rendition of the image that is much more true to what you viewed on your LCD.
Using the camera profiles in Lightroom is amazingly simple. First, open an image in Lightroom, then open the Develop Module. On the right toolbar, scroll down to the very bottom to the Camera Calibration tab.
The very first option in the tab is the Profile option:
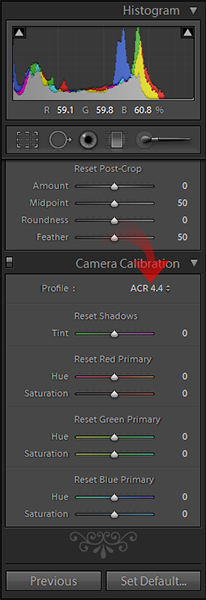
This will normally be set to ACR 4.4, but if you click on the current setting, a menu box will open offering you a selection of camera profiles.
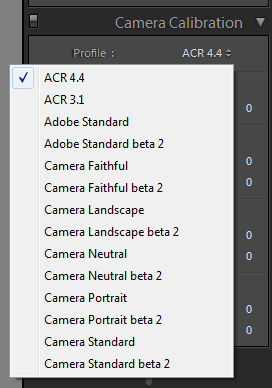
The profiles in the menu will be selected based on the camera that took the image. In my sample, the camera was an old Canon XT, and the profiles are named the same as the picture settings provided in the camera.
Your menu will differ based on your particular camera, but should reflect the picture setting options in the menus of your camera.
Go ahead and click around on some of the profiles provided you. Keep an eye on your histogram as you do so; you will be able to see the difference the profiles make both in the histogram and image.
Here is a sample of a single images histogram, as different profiles are applied:
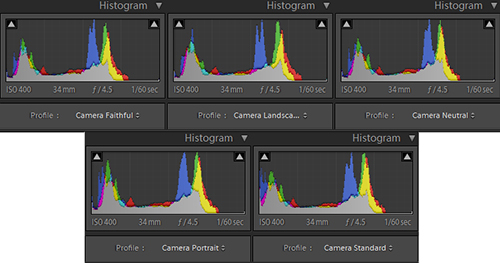
What is great about these profiles is that they adjust the way the image is interpreted in Lightroom’s color space without making any adjustments to the develop settings. The profile simulate the color space used by the in-camera processing on your camera.
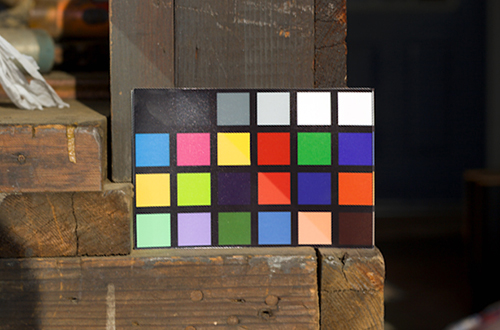
They are not 100% accurate as Nikon, Canon and the others do not directly assist Adobe in this endeavor, but they get close enough for most purposes. Just so you can see the difference, here is an image from a Canon XTi (400D), left side is the ACR 4.4 interpretation, right is Camera Standard.
If you only use raw files from one camera manufacturer, and like one particular profile, you can even set the profile to be applied automatically. Simply set the preferred profile in the Camera Calibration tab and make sure no other adjustments have been made to the image.
Then hold down Command/Alt on your keyboard.
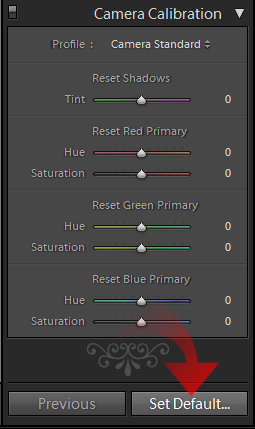
You will see a box below the right toolbar saying Set Default, click that button and all your images will have that profile automatically applied. If you want your images to look like they are JPEGs right out of the camera, with minimal processing, this is the way to go.
The capabilities of camera profiles don’t end there. You can also calibrate two different cameras to the same profiles, allowing them to create almost identical images immediately on upload. You can also create custom profiles that alter the color space in any way you desire.
In Part 2 we’ll discuss those options, as they are fairly in depth processes using Adobe’s DNG Profile Editor
Play around with your default camera profiles and see if you like what you see. They are not for everybody, but most people will enjoy having their images in Lightroom appear more like they did as previews on their LCD.
If nothing else, it is one more tool you have to get a little bit more out of Lightroom, especially when you get into custom profiles.


