Chromatic Aberration distortion is an issue you see with many non-DSLR and older DSLR cameras.
By definition:
In optics, chromatic aberration (also called achromatism or chromatic distortion) is a type of distortion in which there is a failure of a lens to focus all colors to the same convergence point. It occurs because lenses have a different refractive index for different wavelengths of light (the dispersion of the lens). The refractive index decreases with increasing wavelength.
Chromatic aberration manifests itself as “fringes” of color along boundaries that separate dark and bright parts of the image, because each color in the optical spectrum cannot be focused at a single common point on the optical axis.
Since the focal length f of a lens is dependent on the refractive index n, different wavelengths of light will be focused on different positions. Chromatic aberration can be both longitudinal, in that different wavelengths are focused at a different distance from the lens; and transverse or lateral, in that different wavelengths are focused at different positions in the focal plane (because the magnification of the lens also varies with wavelength).
Source: Wikipedia
The important piece in this definition that should make sense to photographers is this
Chromatic aberration manifests itself as “fringes” of color along boundaries that separate dark and bright parts of the image
That being said, let’s look an example image to see exactly what we are looking for:

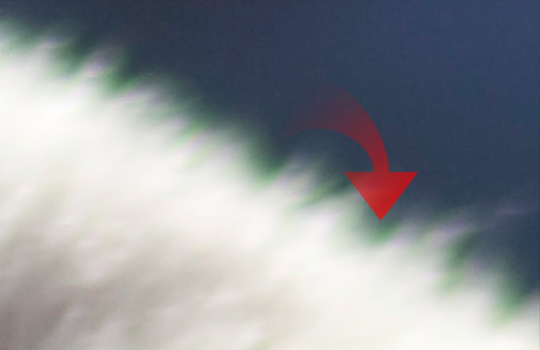
Not as noticeable, but there is some nasty green fringing as the bears fur contrasts with the darker background.
Let’s zoom in a bit more:

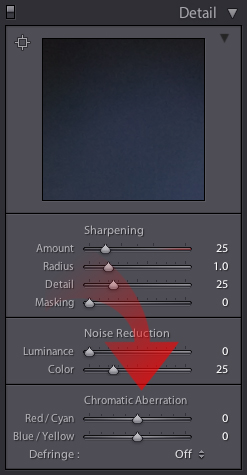
There we are, green and nasty! Let’s use Lightroom to attack this. To do this, head over to the Develop Module (shortcut key d), and we’ll focus on the Chromatic Aberration controls:

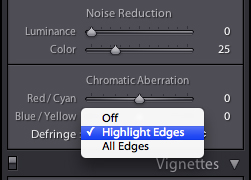
Before we get to the sliders, let’s explain the Defringe drop-down. To quote Adobe LiveDocs on this feature:
Choose All Edges to correct color fringing for all edges, including any sharp change in color values. If choosing All Edges results in thin gray lines or other undesired effects, choose Highlight Edges to correct color fringing only in the edges of highlighting where fringing is most likely to occur. Choose Off to turn off defringing.
Since our issue is with colors at the edges of the bears fur we’ll select Highlight Edges from the drop-down:

With regard to the Red/Cyan and Blue/Yellow sliders, here’s what they do:
Red/Cyan – Adjusts the size of the red channel relative to the green channel. Compensates for red/cyan color fringing.
Blue/Yellow -Adjusts the size of the blue channel relative to the green channel. Compensates for blue/yellow color fringing.
Going back to our original image:

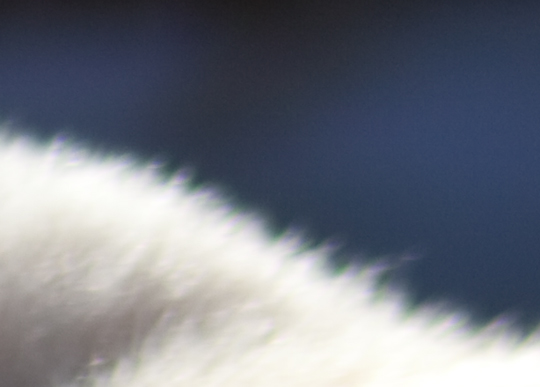
We notice that this green fringing has got to go! Simply grab the Blue/Yellow slider and move it to the left.

And we can see we’ve diminished the green fringing considerably.

For our purposes, we can call it a day, knowing we can now spot, fix, and recover images suffering from Chromatic Aberration.
I personally have not had seen this issue pop up with any of our in house cameras and lenses we shoot with. It’s safe to say with the higher end bodies and lenses you get the luxury of being able to prevent fringing from the start. That doesn’t mean it doesn’t happen, and when it does, this feature nails it every time.
And now the golden nugget
Here’s a sweet trick you can perform when correcting Chromatic Abberation in Lightroom. As you may already know, I’m a huge fan of using the {Alt} key (mac or PC) to quickly access additional – hidden Lightroom controls.
This is another one of those moments:
If you hold the Alt key while you’re dragging either Chromatic Aberration slider, it will only show you the 2 channels you’re adjusting in the preview area, making it much easier to see the fringing, and thus repair the problem.


