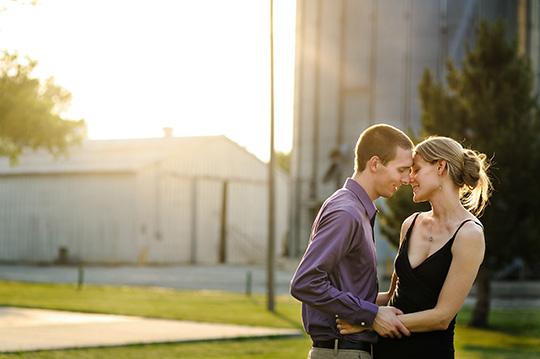
Dodging and burning (or local exposure adjustment) is one of the fastest ways to improve your images, so it’s no wonder we use it a lot around here. It’s one of the oldest tricks in the books, and can do things like:
- Focus attention on the subject
- Shape and flatter the subject
- Increase dynamic range
So, first, we’ll need a brush.
Custom Burning Brush
One of the problems with burning (or selectively darkening) the image is it can look unnatural. The first step to avoiding this is to shoot for the dodge & burn. Do this by composing your photograph with high contrast between the subject and the background.
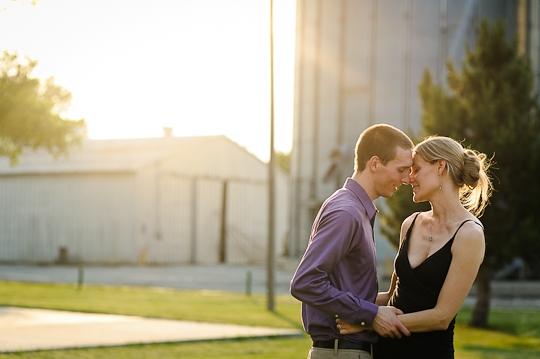
85mm, f2.0
Next, make a custom adjustment brush that lowers exposure, increases contrast and darkens shadows. These extra adjustments will help create a natural looking gradient in the image.
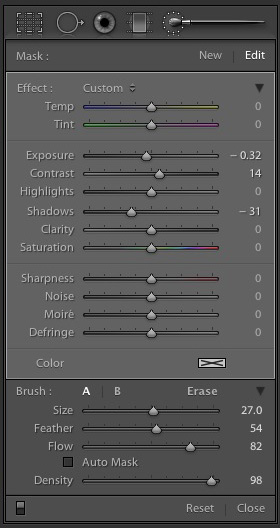
Use this brush to darken the image where appropriate (in this case the background). Use the Tool Overlay command O to see the pattern your laying down.
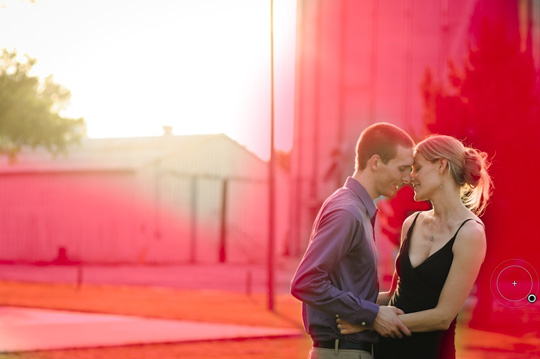
Watch out for “hallowing” or unnatural gradients at the edges of the affected area. Zoom in, and using the erase brush, fine-tune your results until it looks good.
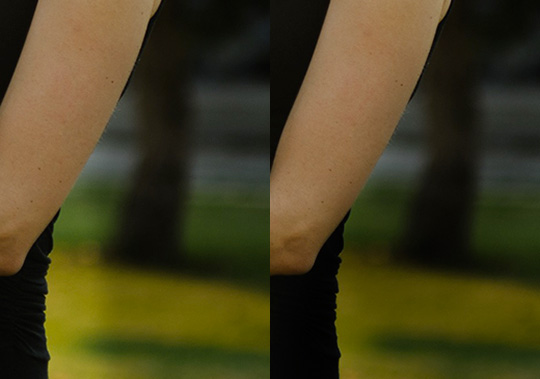
- Left – visible hallowing around dress
- Right – hallowing gone
Custom Dodge Brush
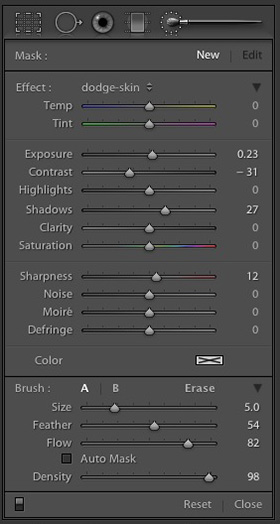
At this point you could be done with the image, but I like to dodge (or brighten) up my subjects so they really pop. Create a custom dodging brush that brings up the exposure, decreases contrast, and sharpens. This brush works especially well on people & skin. Dodge the subject up using the same method as for burning (above).
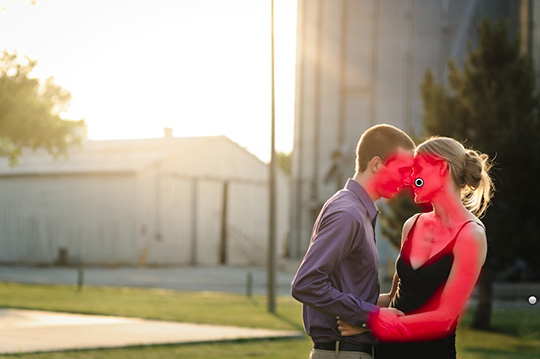
Check out the final image below..
