I’m still having a blast shooting sequences, and would love to hear how you folks are shooting them out in the field. I’m looking forward to your comments!
Today, we’re going to dig into the workflow I am using to process action sequences in Lightroom.
As always, this is how I do it, and your mileage may vary based on your particular needs.
Getting The Shots
The key to shooting an action sequence involves:
- an SLR Body with a motor drive
- a fast shutter speed
- relatively high ISO (ISO 1,000 or higher)
- a quick lens
Here are the gear and settings I used for these sequences below:
Gear
- Canon 50D 15MP Body
- Canon EF-S 18-200mm f/3.5-5.6 IS Standard Zoom Lens
Settings
- ISO 1,600
- 1/1,000 sec shutter
- 28mm lens @ f/5.6
A couple things to keep in mind:
- your mixture of ISO, aperture, and shutter speed will vary based on the speed of your subject and lighting
- at such high shutter speeds, I don’t need a tripod
- I shoot all manual when doing sequences
- shooting manual with most modern DSLR’s is a lot like like shooting in auto-mode – the exposure meter in-camera tells you if you’re in range of the proper exposure just by flicking some dials around – it’s a no-brainer
- shooting in priority mode (Aperture or Shutter) doesn’t play well with the 50D (hence the manual settings) and on some cameras can limit your capture framerate
- the Canon 50D has a High-speed Motor Drive setting which is what I use in these projects
- for your specific cameras motor drive settings, refer to its manual
And, as always:
- Experiment
Picking Winners
First things first – get those images onto your hard drive, and while you’re at it, organize and name them something easy and memorable.
Once you have them in Lightroom, there are as many opinions on how to organize and pick images as there are ways to organize and pick images.
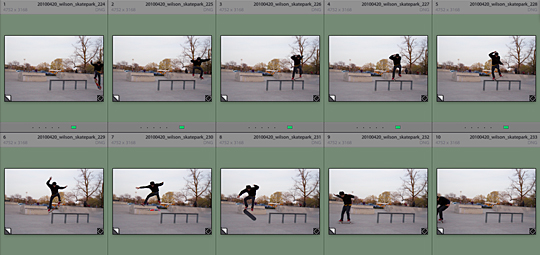
Me, I like to just add some color labels to the sequences and tuck them into a Collection. If I had a large number of sequences, I can see how over time I may stack and collapse them to save some screen real estate while working in my Catalog.
For now though, simple color labels (green) will do just fine:
Start Choppin’
Once I have my picks, I keep things simple.
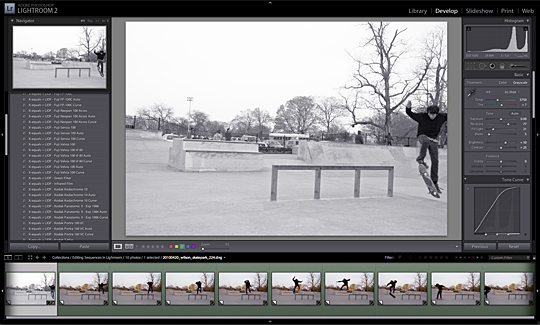
First, I’ll head over to the Develop Module and set my exposure, darks, midtones, and highlights to my liking using the Histogram as my guide. In addition, I have been using the black and white presets available in the XEQUALS Black & White pack – particularly the AGFA Apx Preset, to process my images in black and white. Don’t have the XEQUALS Black & White pack? Get it here.
As we can see here my first image is processed and ready to go:
Now, here is where the Sync command saves you time and makes you smile.
I hold down the {Ctrl} key on PC or {Command} key on Mac and press the A key to select all my images.
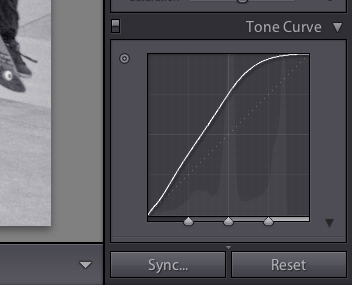
Next, I select the Sync button:
Check all the settings available:
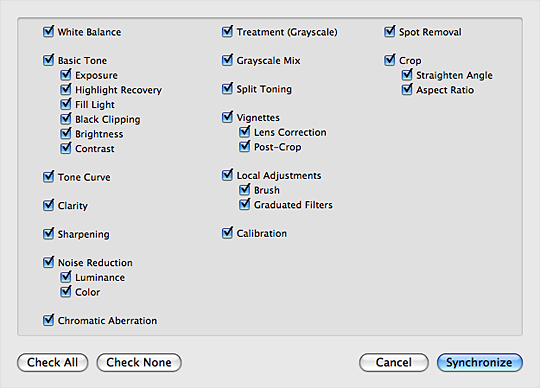
… and Synchronize.
Synchronizing across all images isn’t always going to work for every project. With sequences though, I find this technique 80% of the time (or more) since you’re shooting the same camera settings and unless the lighting changes dramatically during the 2 or 3 seconds you shoot your images, you’re usually good to go!
Crop ’em Down
I like to crop my images down to include just the subject and a little space on all four sides so that I can stack them together for a sort of panoramic look that makes the image look-and-feel consistent and portray the movement I was trying to capture in the sequence. This workflow is working astoundingly well for me right now.
I’ll exercise more of my keyboard shortcut chops by select the first image in my sequence and pressing R to pull up the Crop tool, and I’ll crop the image horizontally as I mentioned before.
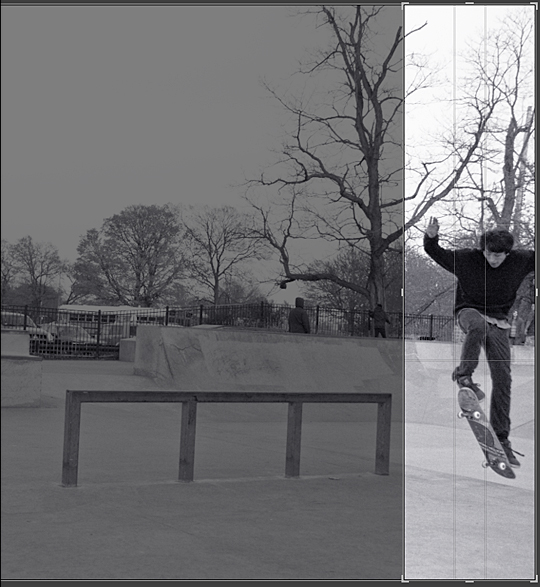
Once this first image is cropped, I have a Grid view that looks like this:
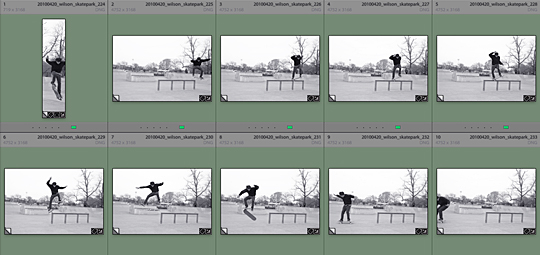
Next, I’ll get to work on the remaining images in our sequence.
The way I have been cropping images takes shape as follows:
- I hold down the {Ctrl} key on PC or {Command} key on Mac and press the A key to select all my images.
- next, I select the Sync (in Develop Module) or Sync Settings (in Library Module) button
- but this time I just want the Crop settings to be sync’d across my selected images
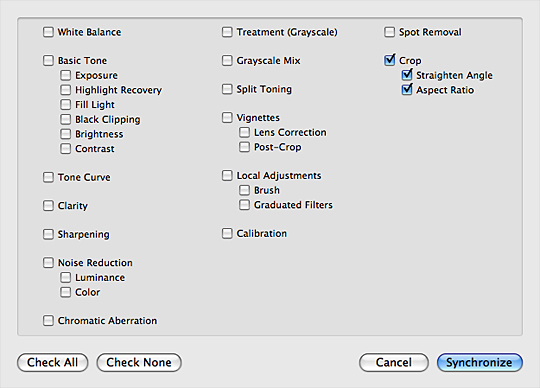
Boom … done:
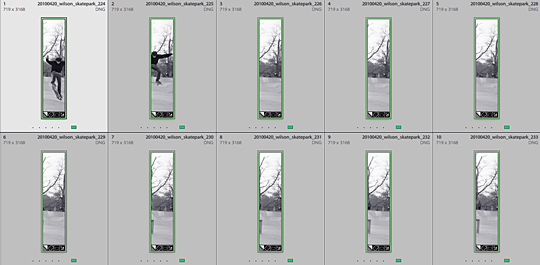
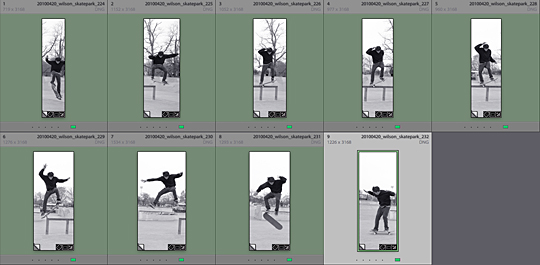
As you can see, I still need to get the subject back into view in each of my images. I have found syncing the first images crop to the rest leaves me with less work to get each successive image into place. I simply select each image, press R, and move/widen each cropping as needed. In this example I spent about 45 seconds getting everything in order – super quick!
Here’s my final sequence, edited and cropped and ready to rock:
Final Output
In my final step, I export my images to Photoshop where I line them up as you can see below.
Click on the image for a larger view of each sequence.
Go Maketh
Now it’s your turn, grab some sequences and capture the action!
Rock on!


